A Very Paleo Friendsgiving [Recipes]

paleo stuffing sausage onion mushroom friendsgiving thanksgiving

Unfortunately, my best friends do not live in my immediate radius, so we’re always looking for reasons to get together. As a part of my growing confidence in the kitchen, I decided that I would try to tackle a Thanksgiving dinner. I dubbed it Friendsgiving and decided to keep it small –just me, my husband and two of my best friends. Partially because we have a small apartment and tiny table, but mostly because it would give me a chance to try my hand at a Thanksgiving dinner with the safety option of going out to eat if it all goes to pot. 🙂

The weekend before Friendsgiving, I got some news from my doctor that I need to do an extreme cutting back on my carb intake and suggested I try a paleo diet. For readers who aren’t familiar with the paleo or primal lifestyle, to oversimplify it, it involves returning to humanity’s hunter-gatherer roots by focusing on meats, veggies, nuts and seeds, reducing natural sugar intake by monitoring fruit intake, and cutting out manufactured carbohydrates: bread, pasta, rice. It also encourages folks to shop organics, grass-fed meats, animal fats and free-range fowl. Paleo and primal are technically not interchangeable, but for the purposes of this post (and elsewhere on my site), when use paleo, I mean low carb.

My friends and husband were totally supportive of having a low-carb Friendsgiving, so I began the recipe search. Here’s what was on the menu (with links where I used recipes)

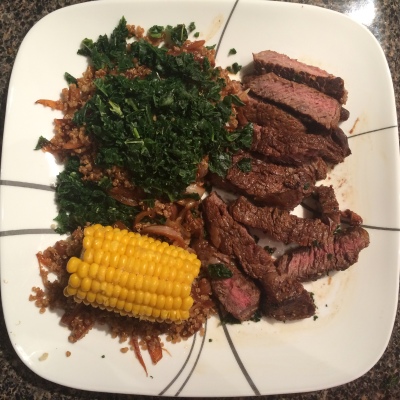
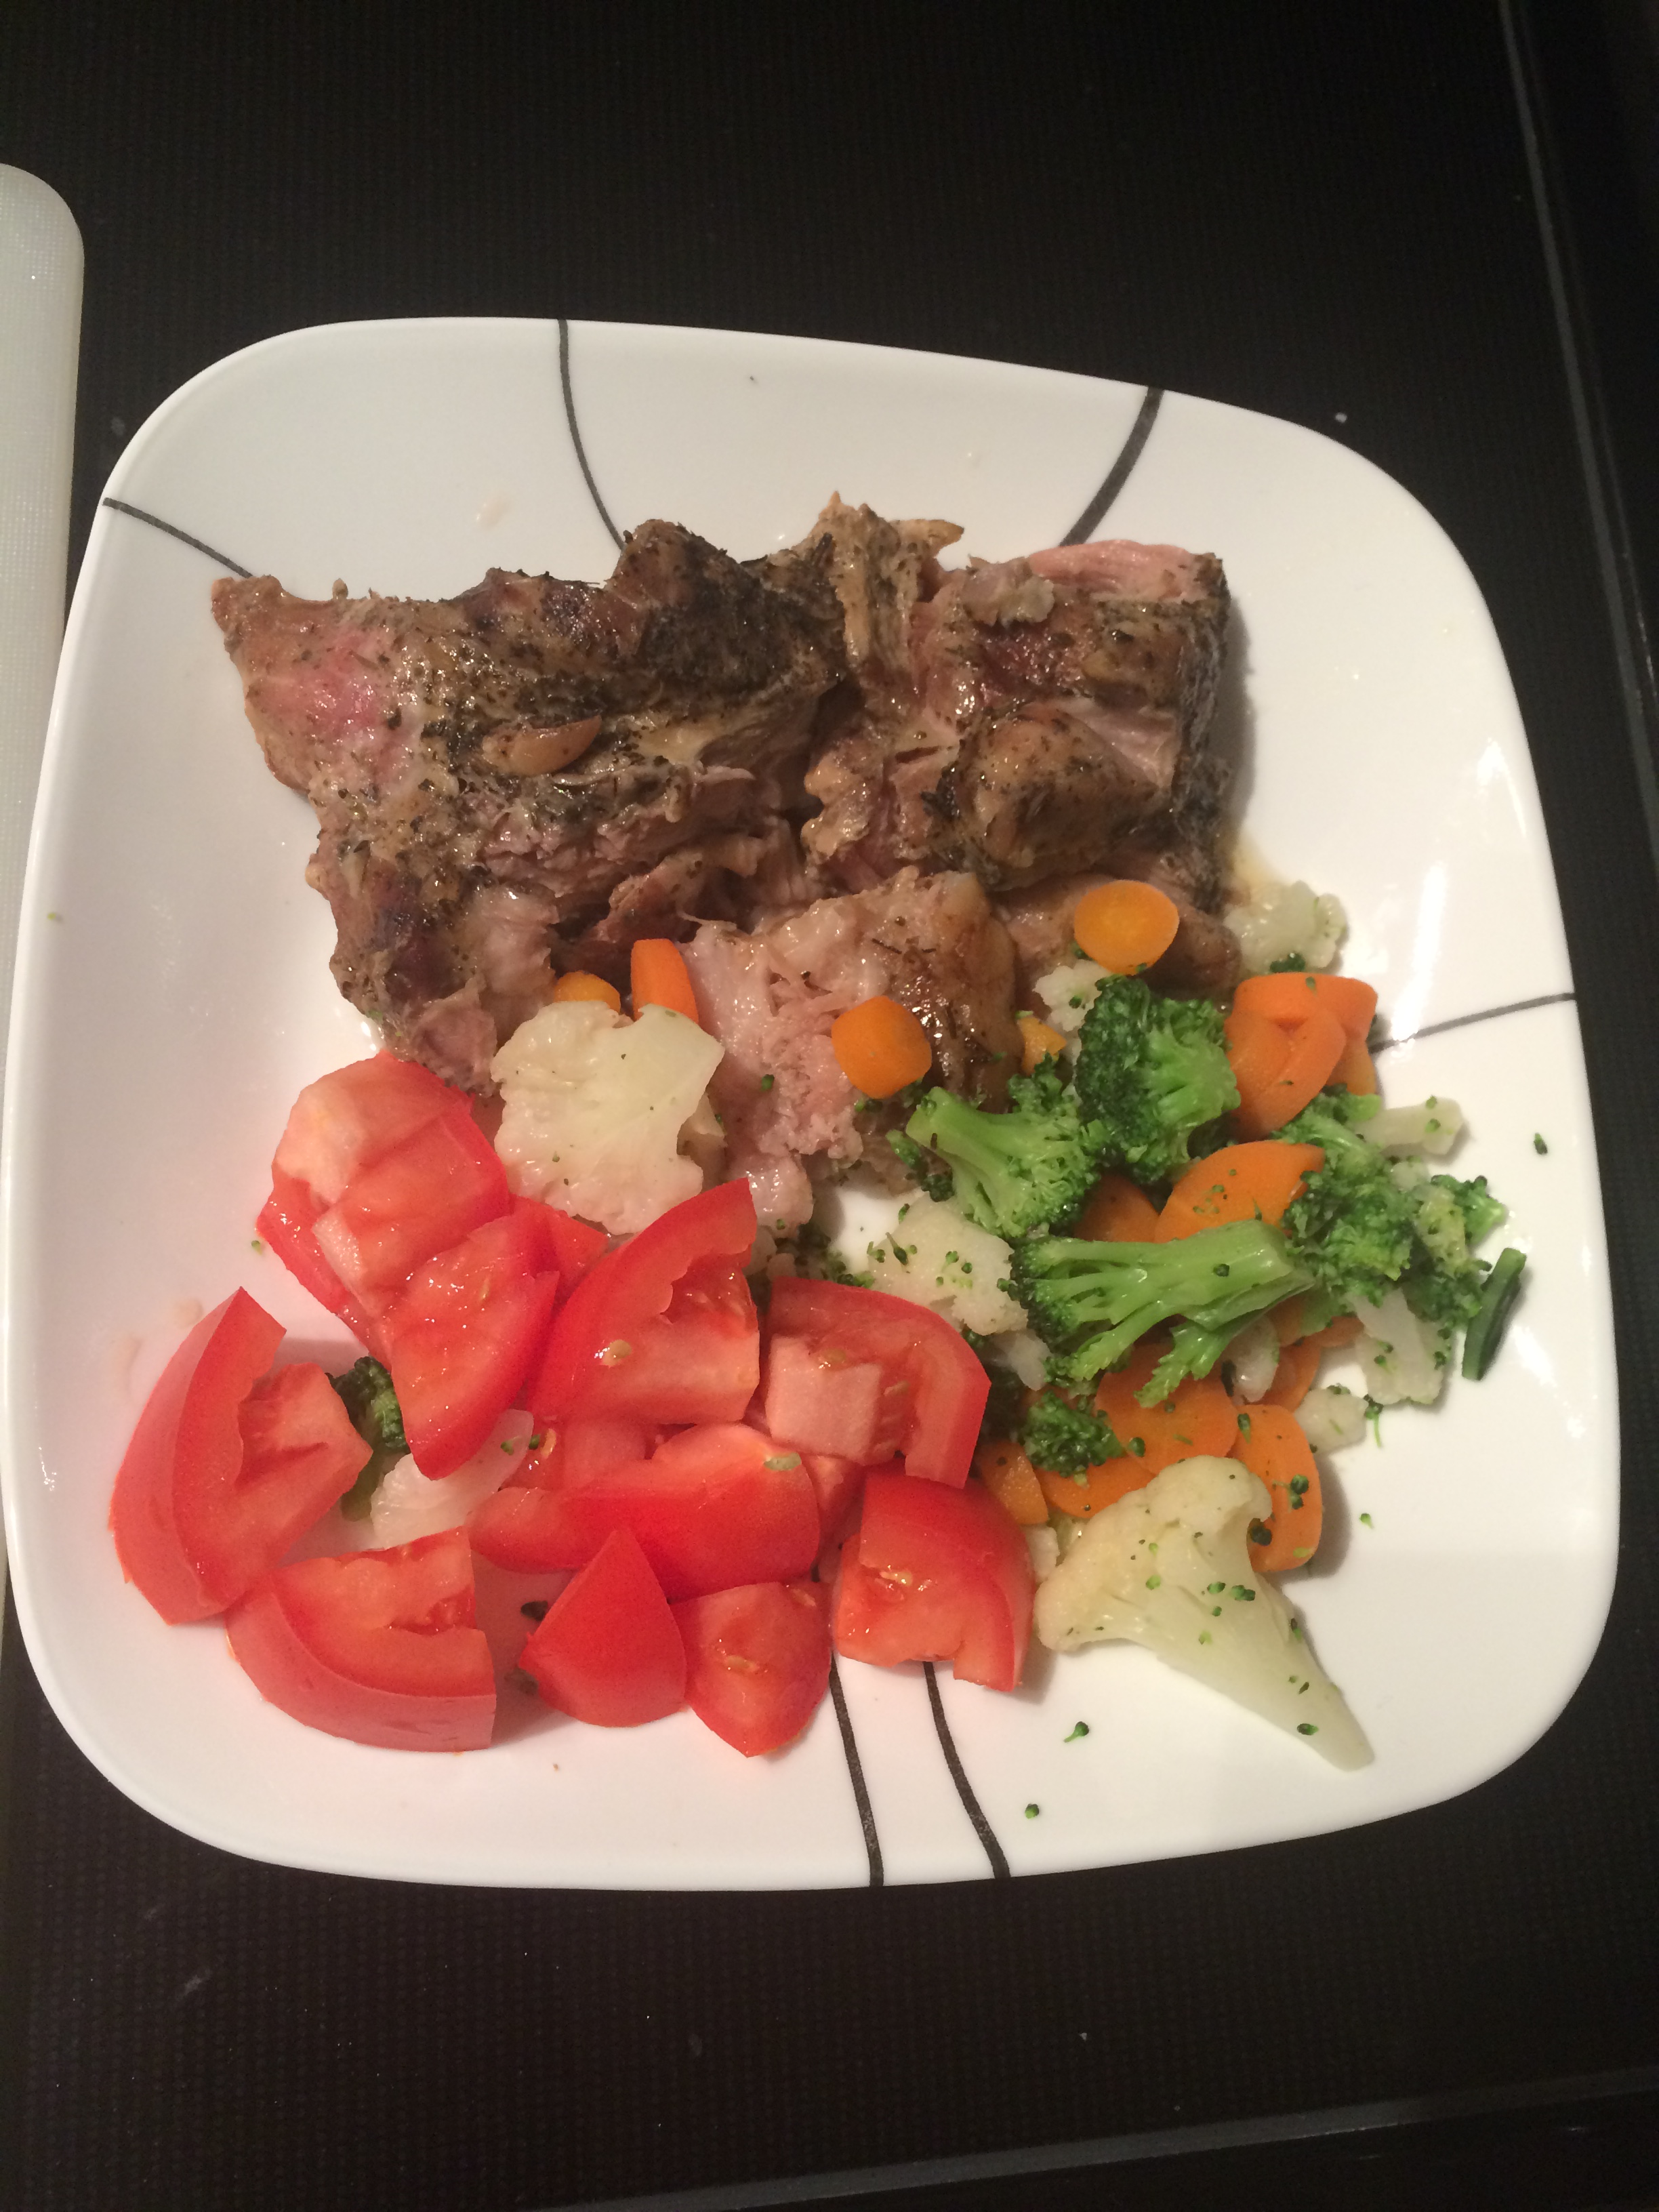
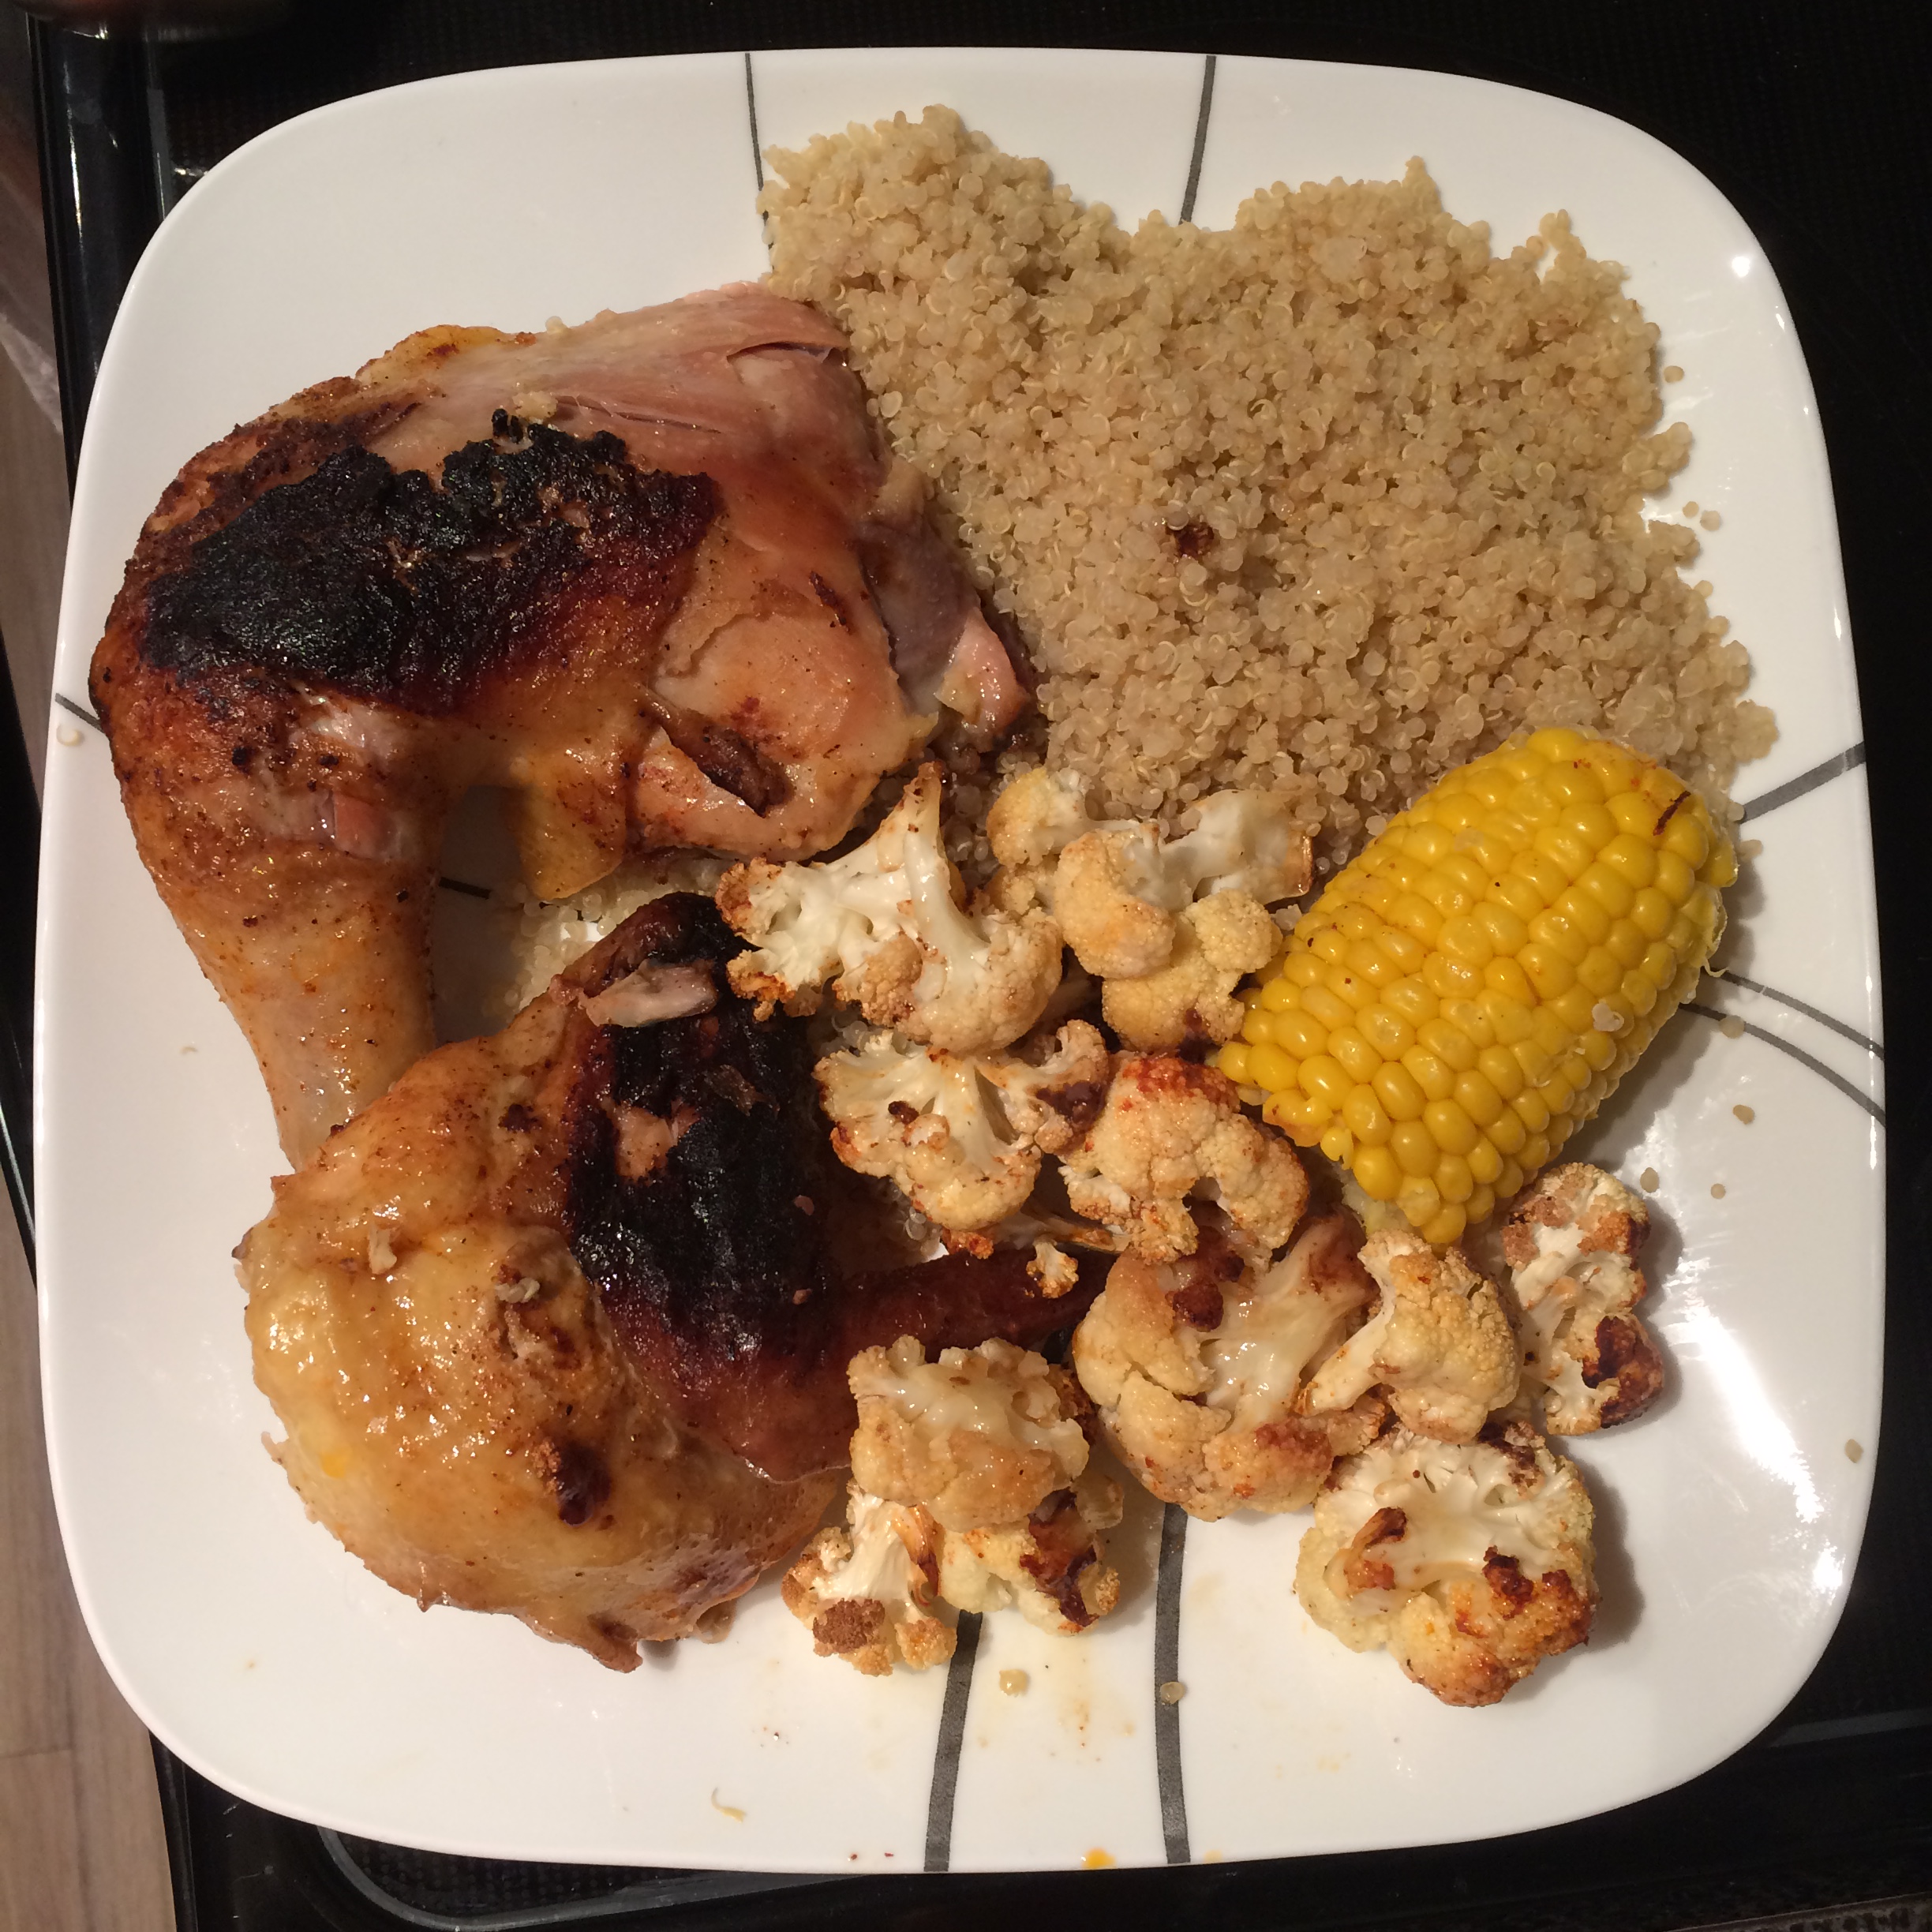
Here’s what our plates looked like minus the Garlic Cauliflower Mash because I totally forgot it until mid-meal:

Friendsgiving meal closeup plate thanksgiving paleo turkey stuffing carrots sweet potato

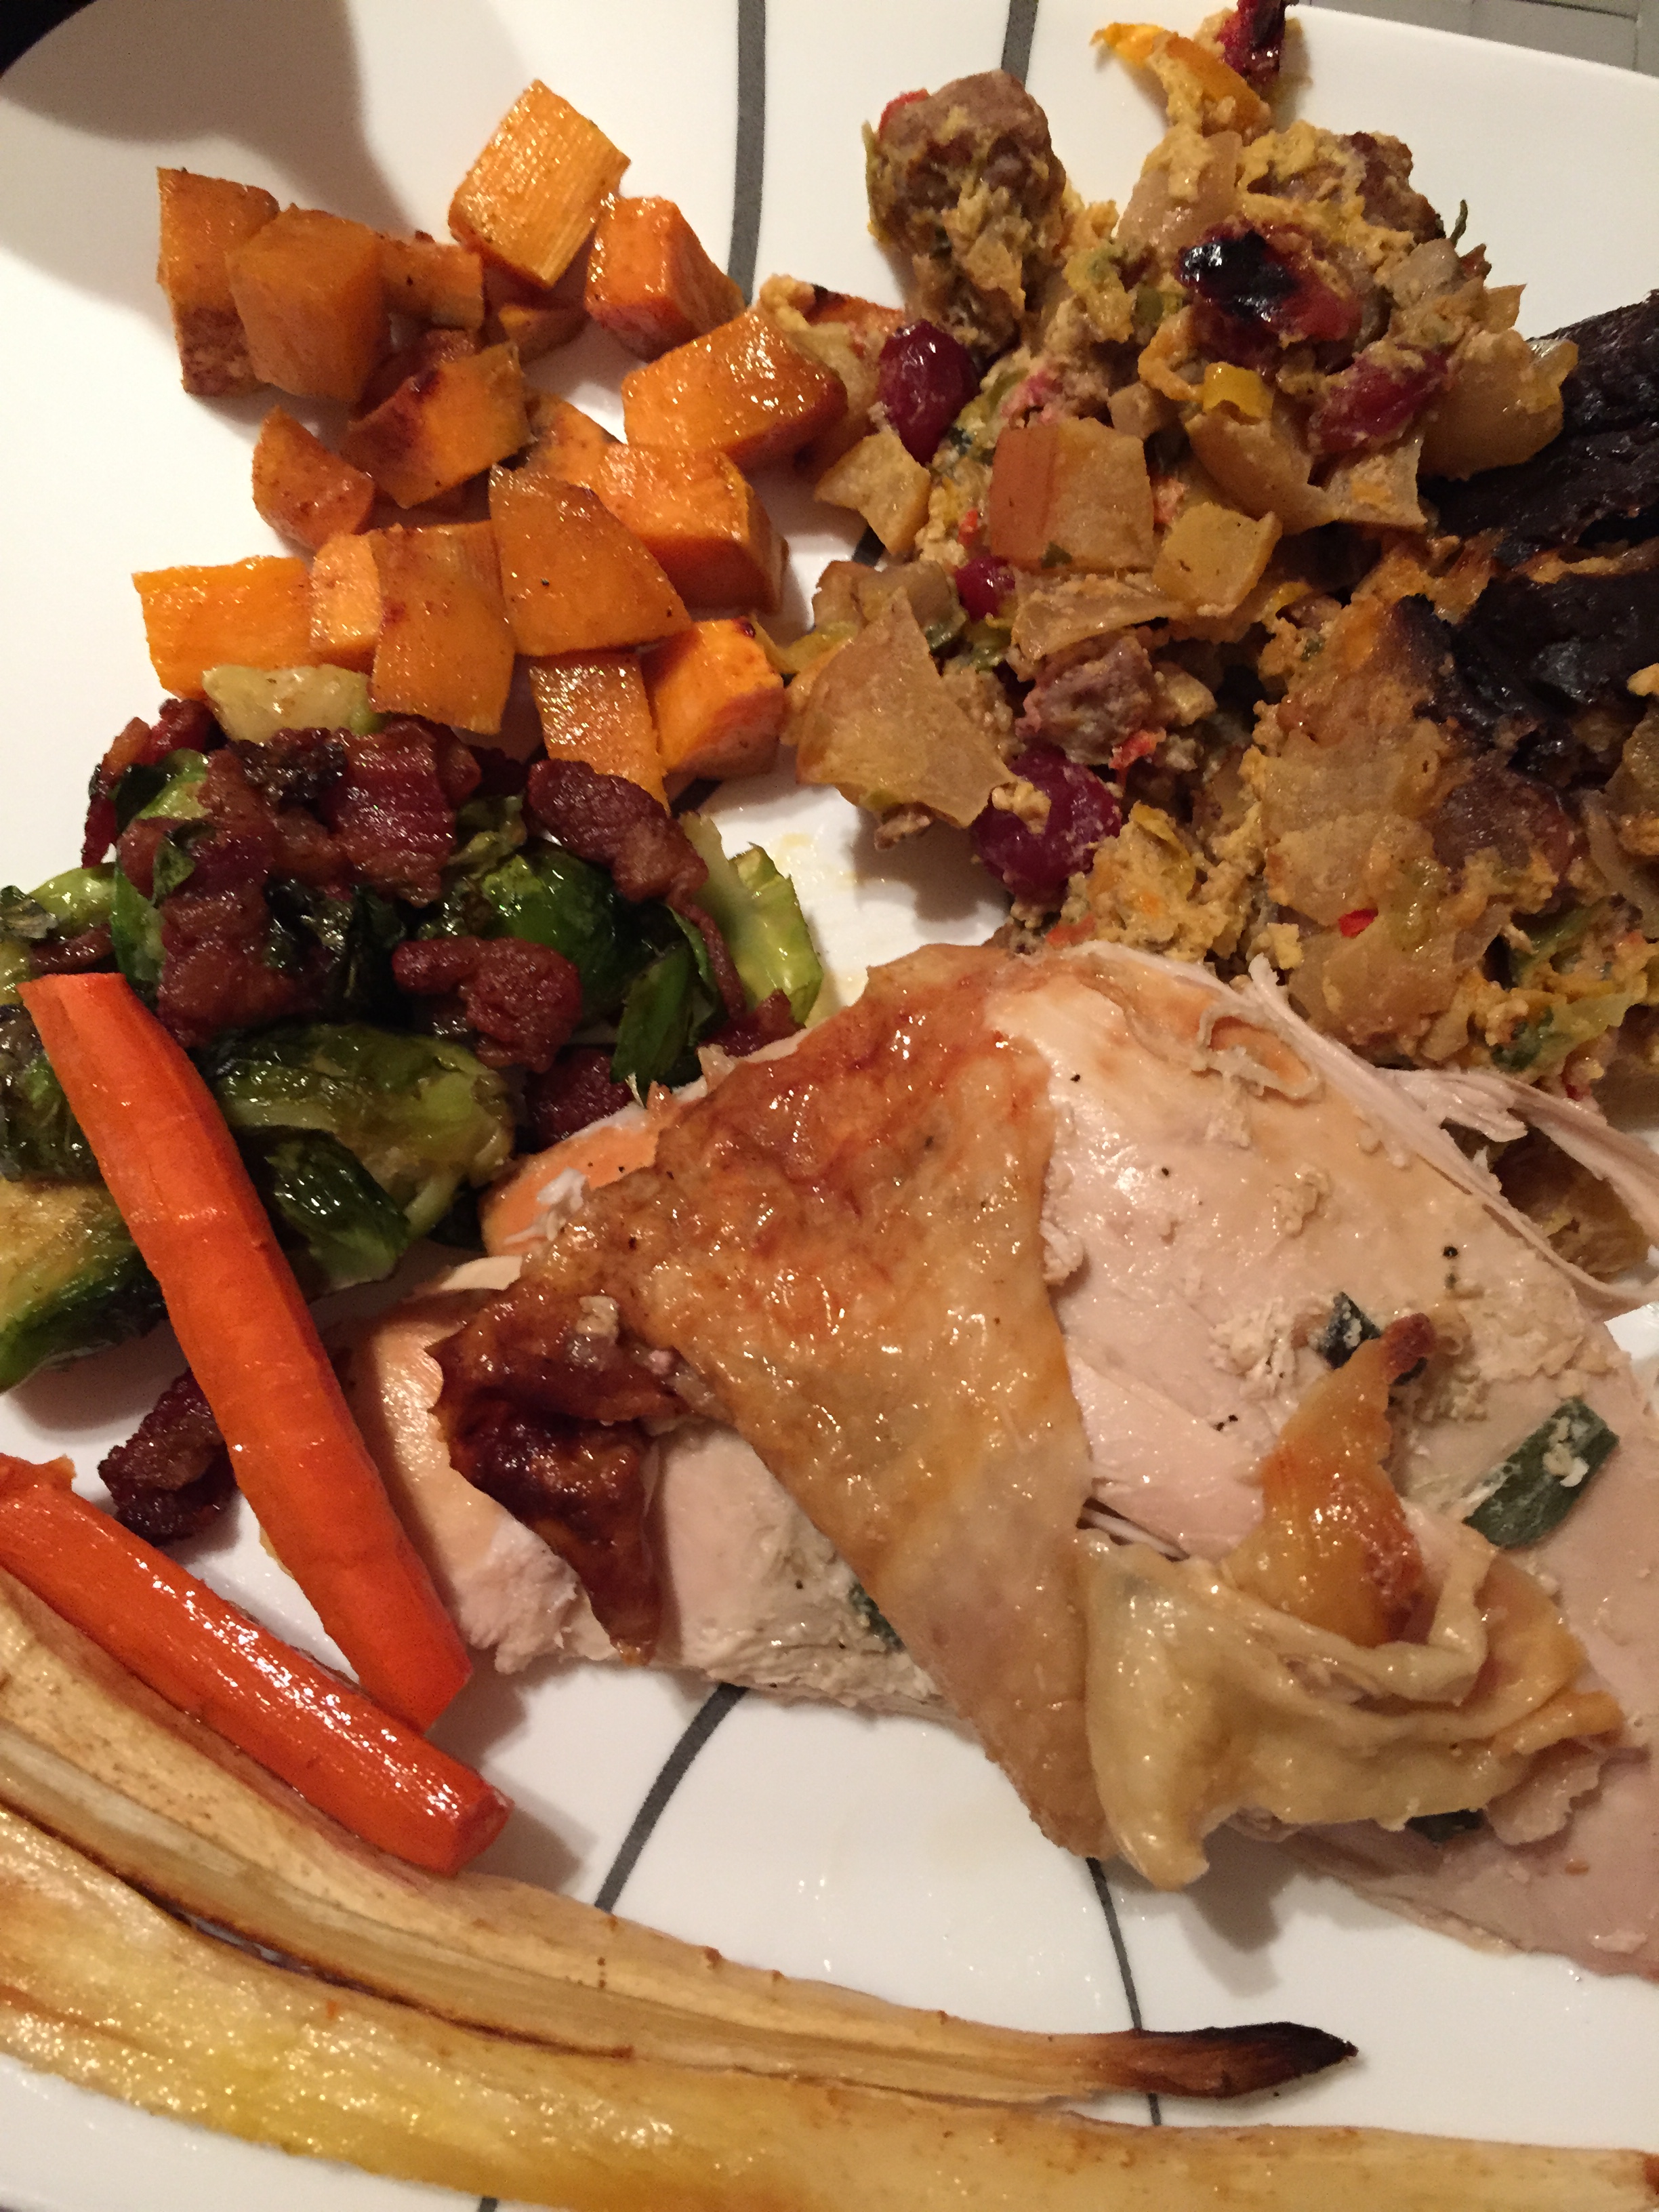
It all turned out beautifully, if I do say so myself. There was definitely an increased level of anxiety involved in trying to cook a turkey and all the sides, but I was lucky enough to have Michael helping me with a lot of the prep and cleanup. Below is a recap of each dish:

Roasted Turkey with Sage Butter

Definitely check out the original recipe from Mellissa at iBreathe I’m Hungry. I followed her recipe to a T and it worked out beautifully. I won’t rehash her recipe, but I’ll tell you why I chose her. While looking for a recipe, I typed in “easy turkey”. Because I was REALLY anxious about how this was going to work, and I wanted the simplest recipe possible. As I began to comb through the pages of the interweb, I suspected that many of the recipes that I found that were “easy” were probably easy for the cooks, not for the Friendsgiving noobs. Many of the techniques also didn’t strike me as ones that would maximize juiciness in the turkey, which was my biggest concern. What drew me to the recipe that I ultimately used was the blogger’s refreshing honesty about how it used to stress her out. I found her very relatable so I trusted that the recipe she created was one that was indeed simple and placated her concerns. So I thought, OK, let’s do this.

paleo sage butter turkey
The final birdy.

The only difference between her recipe and mine that was that I used a 12 pound bird, and she used a 13 pound one. The temperature and timing all worked perfectly for the 12 pounder. It was indeed quite simple. The apples and lemons helped keep the turkey nice and moist and the sage butter under the skin and all around the skin made it amazingly fragrant. The biggest challenge about the turkey was figuring out how to carve it.

turkey carving paleo
“Am I supposed to take the stuff out of the butt first?”

Roasting it upside for an hour help keep the breasts juicy and flipping it over helped give the skin a nice brown. The final result was a very juicy turkey! I feel really good about being able to replicate this again and again.

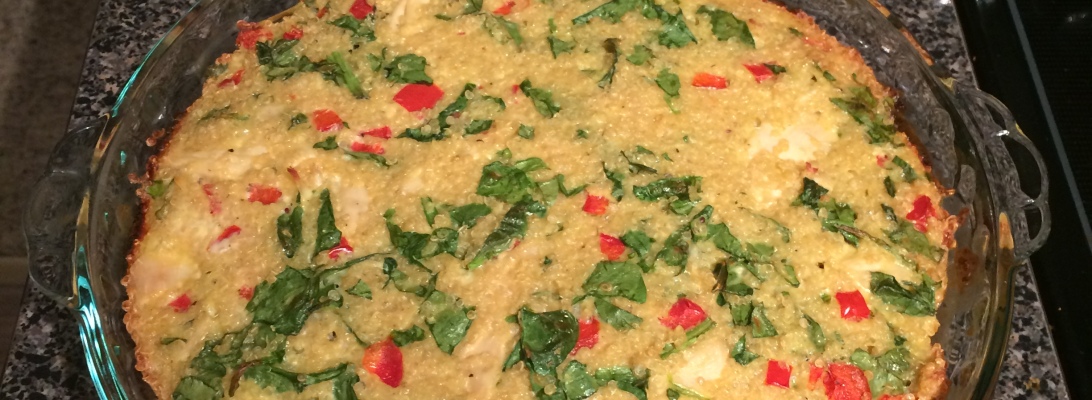
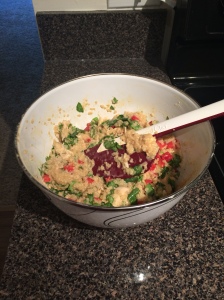
Best Ever Paleo Thanksgiving Stuffing

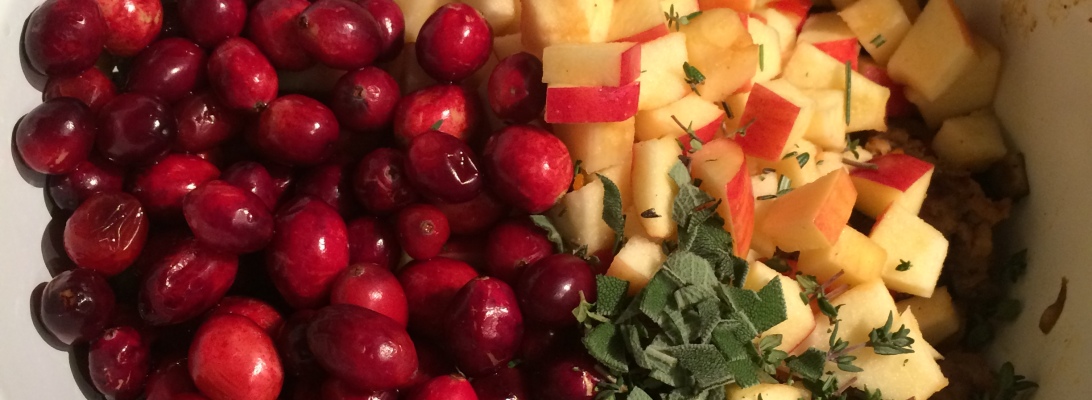
It was surprisingly difficult to find a stuffing recipe that didn’t have any bread in it. Many of the paleo recipes I found replaced the bread with paleo cornbread. For my purposes, I wanted to eliminate bread entirely to reduce my carb-load. This recipe from Paleo Movement only contains carbs from natural sources: apples, fresh cranberries, mushrooms, and bell peppers. The only change I made to the original recipe was that instead of ground pork, I removed the casing from one pound of pork sausage I had in the freezer and crumbled it with my hands.

paleo stuffing sausage onion mushroom friendsgiving thanksgiving
The sausage, onions, and mushrooms are hiding under all this colorful goodness.

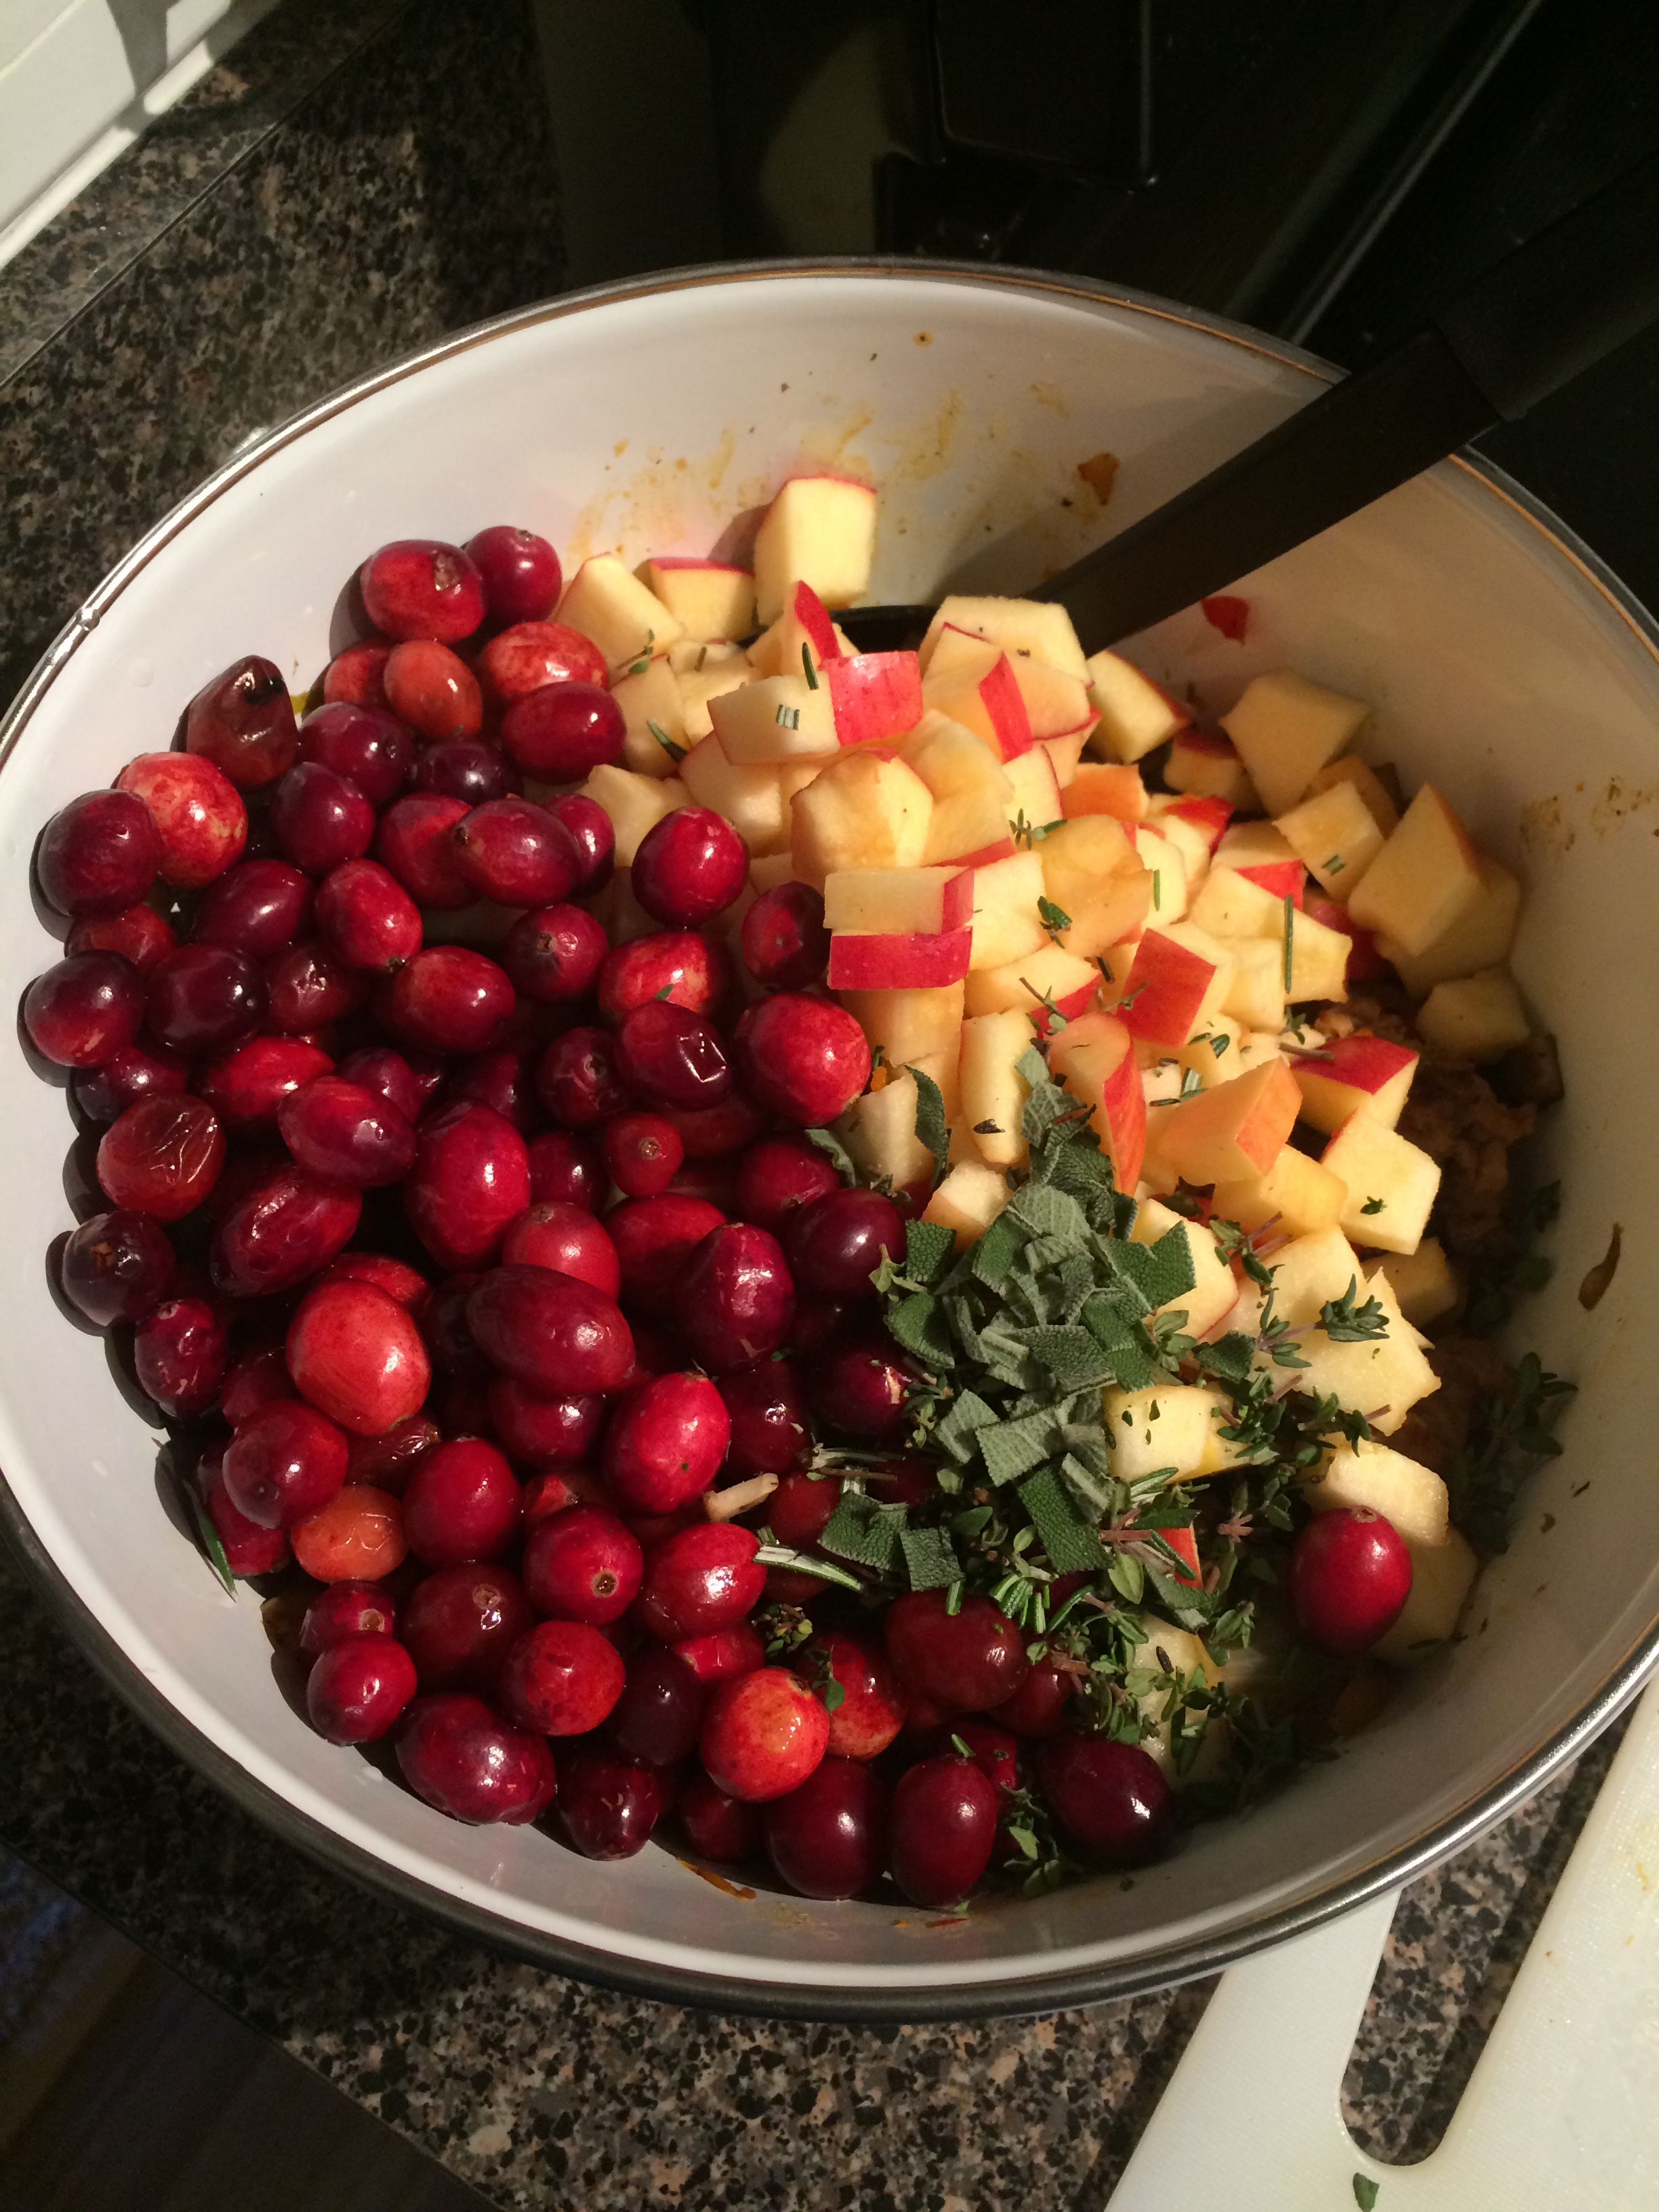
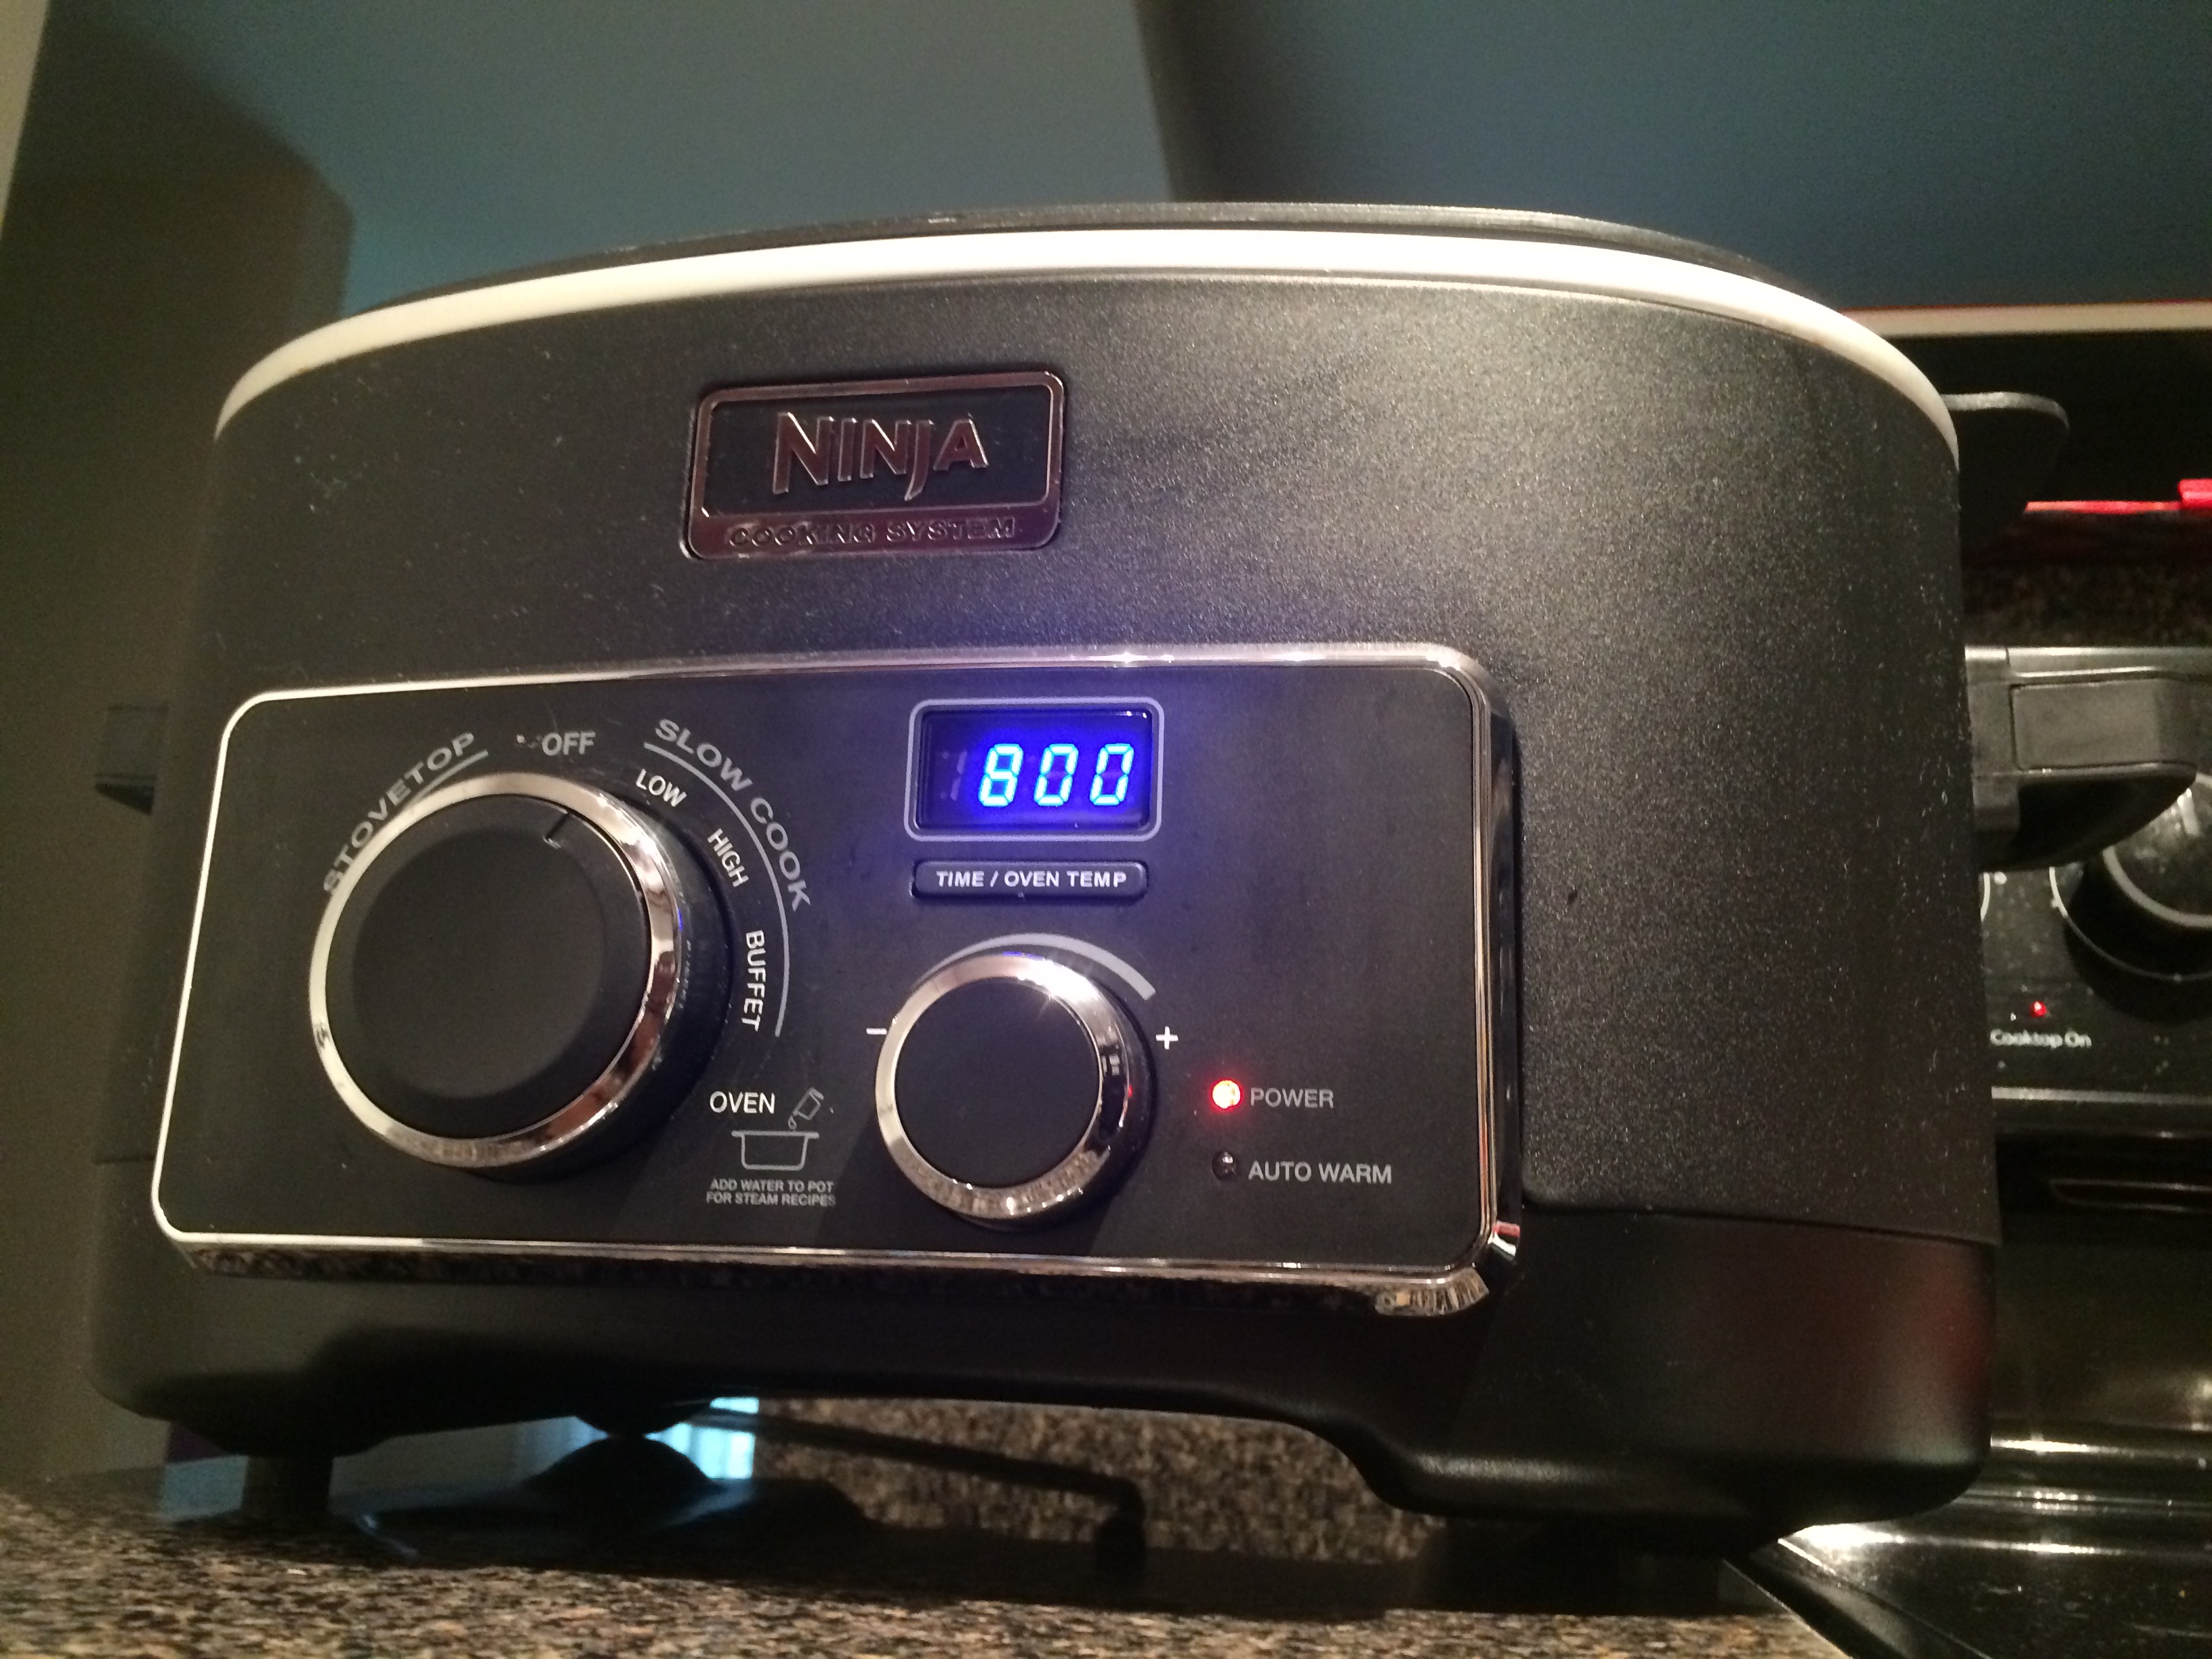
I have never cooked with fresh rosemary, thyme and sage, and it smelled heavenly! I will say that this was the second most stress-inducing part of the meal to make. The issue was there was soooo much to cut up. I thought that I could set the sausage on, cut up the onions while the sausage was browning, cut up the mushrooms while the onions were browning, and cut up the apples while the mushrooms were browning. For the future, what I will definitely do is cut everything the day before. It will make everything much less stressful. Also, I ended up baking this in my handy Ninja on the oven setting because our oven was otherwise occupied by the turkey and two other sides.

Garlic Cauliflower Mash

If you’re expecting cauliflower mash to taste exactly like mash potatoes, you have another thing coming. However, cauliflower mash, when done right, can be an excellent substitute. Cauliflower is lower in both carbs and calories than regular potatoes and the process to mash them up is very simple. I don’t follow a specific recipe, so here’s what I do:

Ingredients

  • 1 head of cauliflower, leaves removed and cut into florets
  • 1/4 cup parmesan cheese
  • salt and pepper to taste
  • 1 teaspoon of low fat cream cheese (optional)

Instructions

  1. Steam cauliflower: this can be done by using a steamer insert in a pot. I steamed the cauliflower in my Ninja using the steamer insert and filling it with water to just the below the insert. Then I placed the lid on and cooked it on medium for about 10 minutes. They came out nice and softer.
  2. Blend cauliflower: I used my Vitamix, but any blender food processor can be used on a low speed. Drop in one or two florets at a time and use the pulse setting to blend until creamy.
  3. Add cream cheese, parmesan, salt and pepper: continue to pulse until well mixed. Transfer to serving plate.

I’ve done it without the cream cheese before and I find that it just helps make the mash creamier than without. You can probably substitute a splash of milk or other cream to help with the texture. I did this a little bit earlier on so I could clean up the Vitamix and get it out of the way. I knew I had to reheat them anyway so they were hot for the meal, so I transferred them to a microwaveable glass bowl and served them like that. You will remember that the picture of the plate above doesn’t have the mash; that’s because I forgot it in the microwave. Once heated, you can top with any of your favorite toppings like gravy or just butter. However, I kept it simple and served as is.

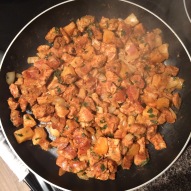
Roasted Sweet Potatoes with Cinnamon and Honey

I did want to have something sweet on the table, and sweet potatoes seemed like the natural choice. Sweet potatoes have more fiber, less carbs and less calories than regular potatoes despite a higher sugar content. But again, it’s a natural sugar! It gets released much more slowly in the bloodstream, which avoids blood sugar spikes that cause fatigue and weight gain. Who wants to avoid that? (raises own hand) I love me a sweet potato casserole, but the traditional recipe has way too much added sugar so I opted for something with fewer ingredients (4!) and uses honey as a natural sweetener. It’s hilariously easy:

Ingredients

  • 3 sweet potatoes, peeled and diced into cubes
  • 1 teaspoon cinnamon
  • 1 tablespoon of oil – extra virgin olive oil or coconut oil – I used coconut oil
  • 1 tablespoon of honey – I used a raw honey harvested in the Cotswolds in England. Wherever possible, use raw honeys –the darker the better. I don’t buy my honey at the store but usually stock up at farmer’s markers from local apiaries.

Instructions

  1. Place diced potatoes on a baking tray in a single layer.
  2. Drizzle oil and honey and sprinkle cinnamon over potatoes.
  3. Bake for 30 minutes at 400 degrees.

It really is that simple. I baked them at 400 degrees because that was what the turkey was cooking at. So 30 minutes before the turkey was done, I snuck the tray in the top shelf of the oven. I had already planned out the space to have both the sweet potatoes and the carrots and turnips added and moved the racks accordingly before I started baking anything. It worked really well space-wise and time-wise. Bubba had never tried sweet potatoes and he was really impressed with them! Everyone thought they were excellent as well.

Roast Carrots and Turnips

When Michael realized we were having turkey, he wanted to throw in a couple classic roasted vegetables he loves with turkey. Enter carrots and parsnips! It’s was super easy, I’m not even going to write out a recipe. Michael peeled the carrots and parsnips, put them on a baking tray, drizzled EVOO on them and baked them for 45 min at 400 degrees. Basically, 45 minutes before the turkey was done, I put these on the top rack (followed by the sweet potatoes).

Brussel Sprouts and Bacon

The meal needed some green so I figured I would add some brussel sprouts. They are a good source of fiber, manganese, potassium, choline, and B vitamins. They aren’t a terribly popular vegetable, mostly because of the smell. However, I read that the smellyness comes when you overcook the brussel sprouts. So I wasn’t about to do that. But I definitely did add bacon! I had originally found a bacon and brussel sprouts recipe that added a few other things, and had every intention of making that one. But at the last minute, I decided to keep it really really simple. No recipe here either.

brussel sprouts and bacon paleo thanksgiving friendsgiving

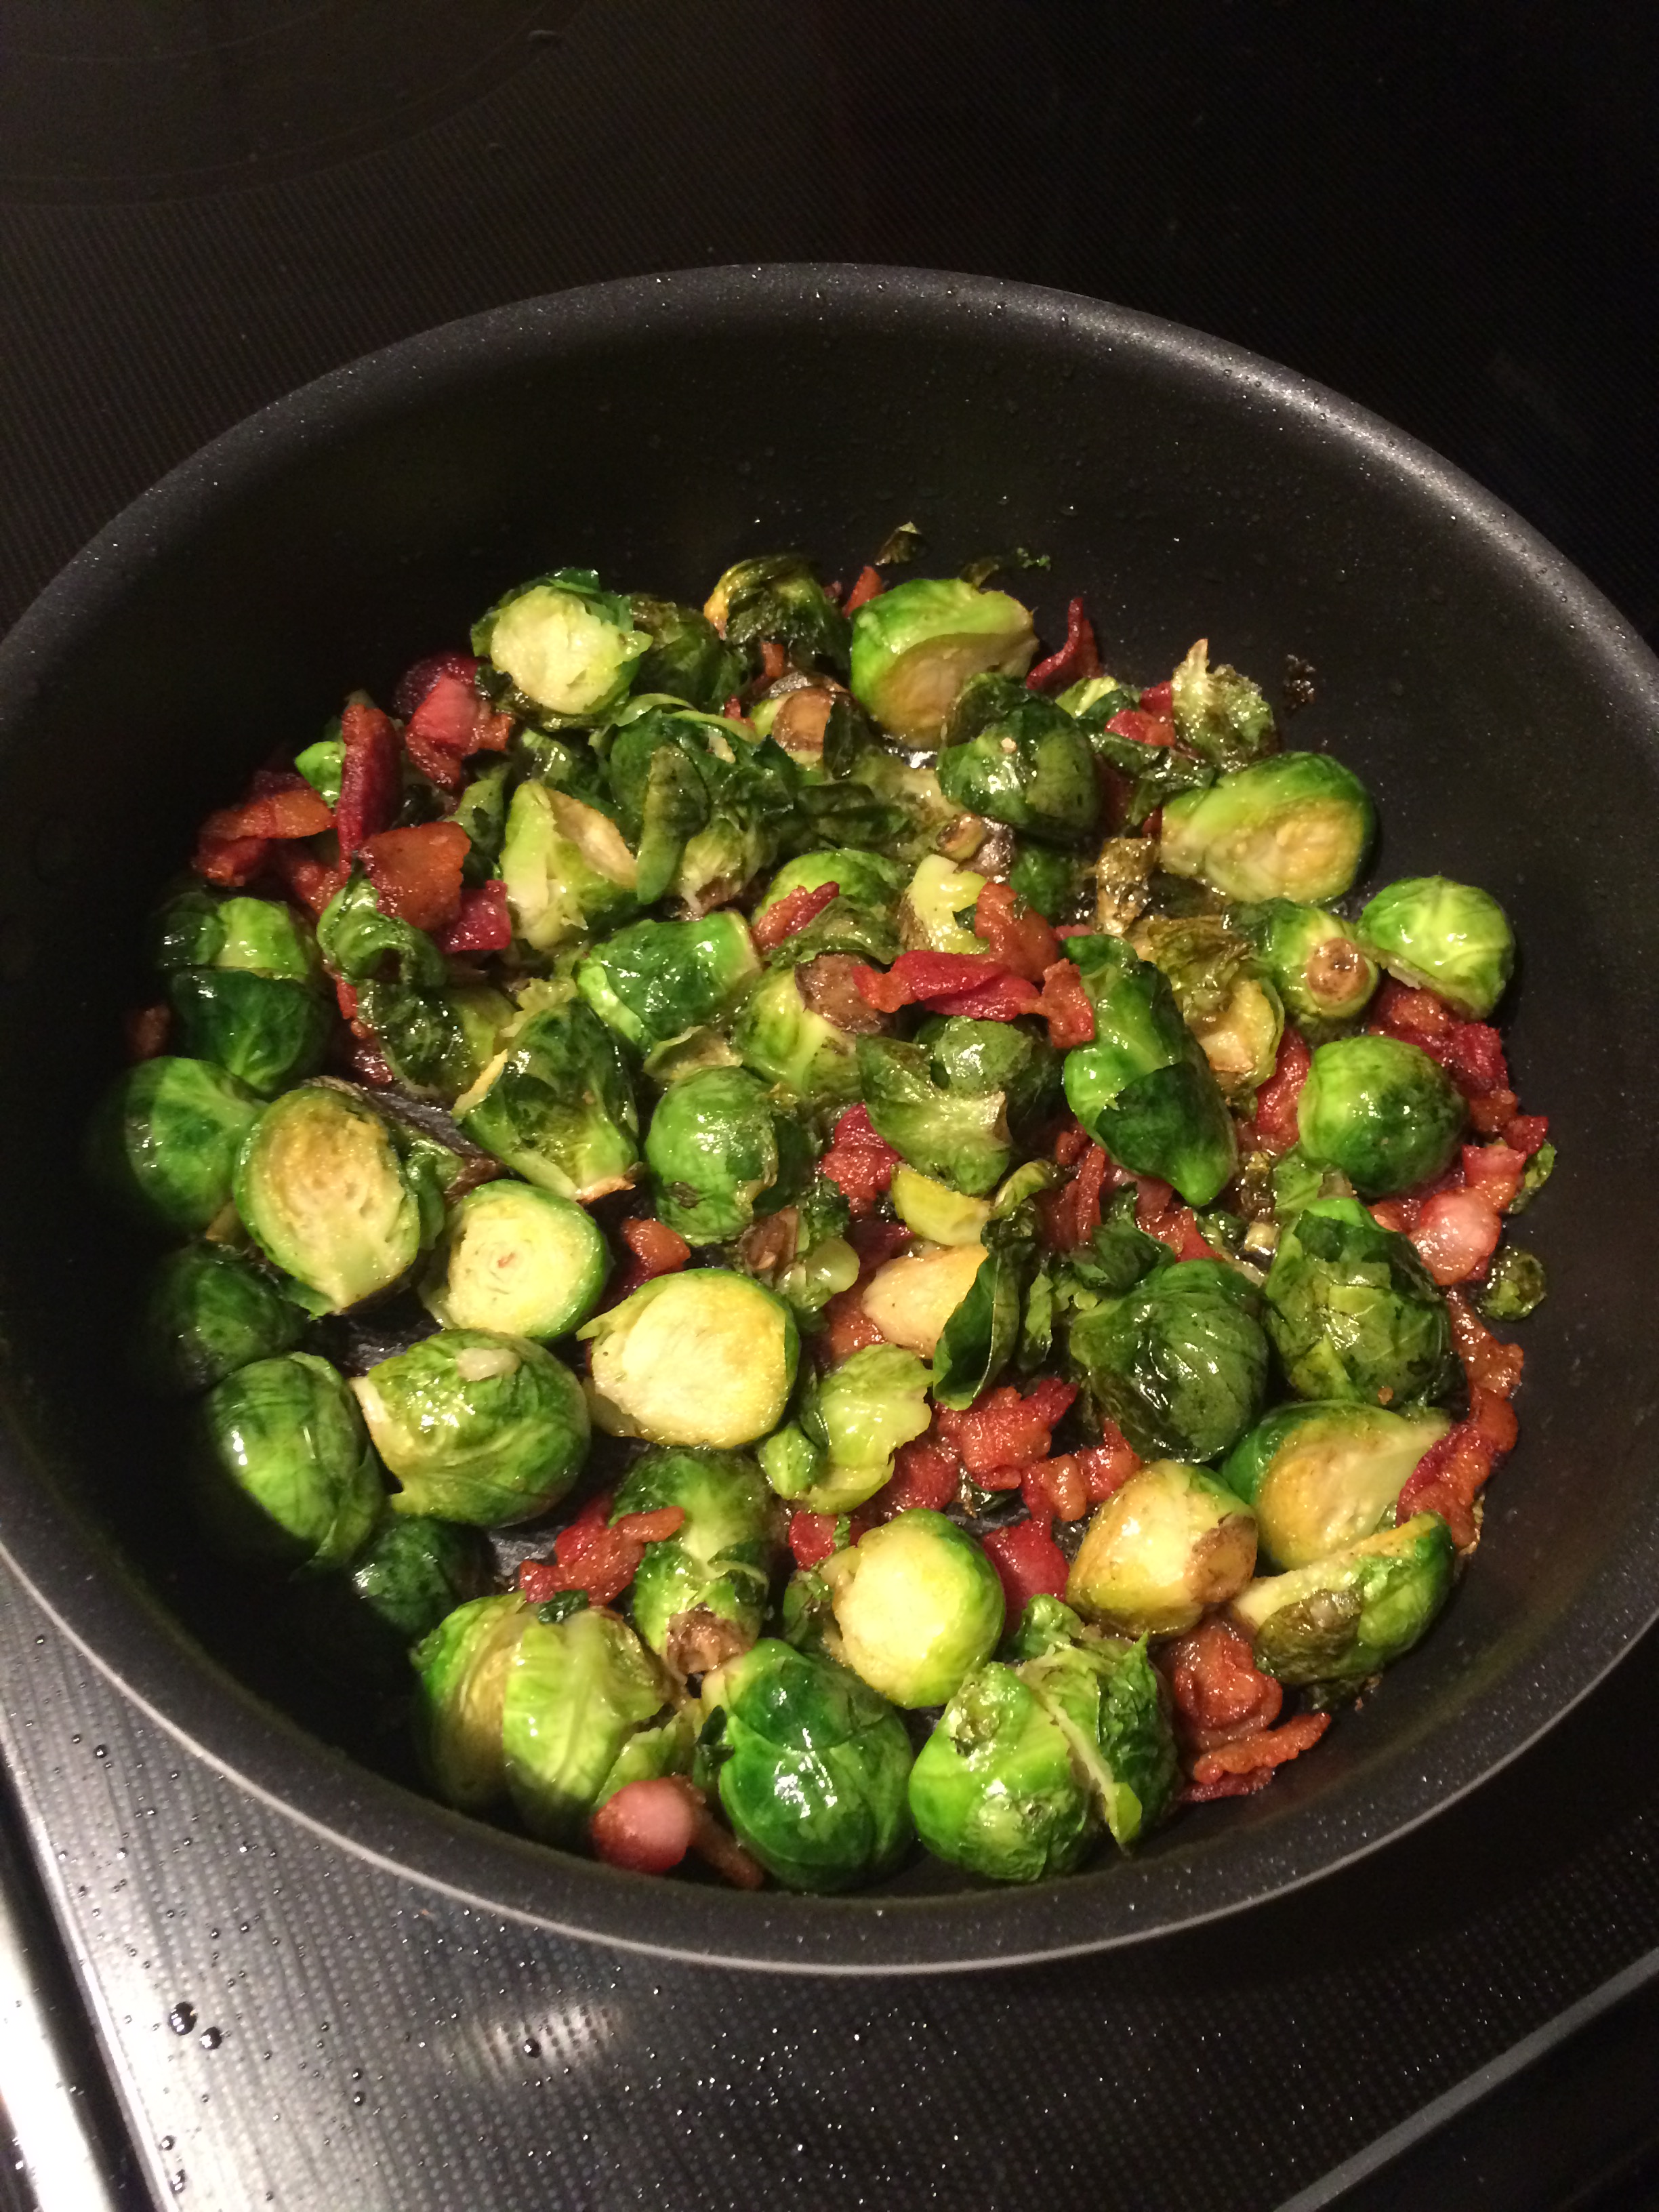
Fry up half a pound of bacon (cut into one inch strips), add one pound of brussel sprouts (each sprout sliced in half) after a few minutes and let them cook in the bacon fat. That’s it! It was so easy, and they are so good for you, so I plan on incorporating more brussel sprouts into regular everyday cooking. Maybe less bacon though. 🙂

So there you have it, my Friendsgiving recipe experience. We topped it all off with some homemade apple pie courtesy of Barb. In an effort to help us all reduce our sugar intake, she used half the amount of sugar she normally uses in her apple pie, and made me two separate little servings of crustless apple pie. Did I mention my friends are amazing?

friendsgiving 2015 paleo cooking
Happy Friendsgiving yay!

Today I am grateful for…

  1. Friends!
  2. Little foldable TV dinner tables that expanded both our kitchen counter space and dinner table.  It made Friendsgiving dinner prep that much easier.
  3. My husband, whose help made the difference between Friendsgiving dinner and a Friendsgiving meltdown.

It’s Taco Tuesday! Tacos Al Pastor [Recipe]

I am always game for Mexican food. Recently, I’ve been sampling Tacos Al Pastor all over my new neighborhood because Tacos Al Pastor is EVERYTHING. Just kidding, I don’t actually know what people mean when they say something is “everything”. But Tacos Al Pastor is pretty awesome.

I had some thin pork chops that needed to be used or frozen, but I already had dinner plans so I opted to freeze the pork in the marinade. It was super easy to make.

Tacos al Pastor

Ingredients:

  • 1 pound of pork tenderloin cut into cubs
  • 1 8 oz can of pineapple chunks in juice, drained (I opted for a larger can and drained the juice and extra pineapples into a separate container to use in a shake later. It was delicious!)
  • 1 medium onion, chopped
  • 1/4 cup chopped fresh cilantro
  • 1 tablespoon Mexican-style chili powder
  • 1 teaspoon ground cumin
  • 1 teaspoon dried oregano
  • 1 teaspoon pepper
  • 1 teaspoon chopped garlic
  • 3/4 teaspoon salt
  • 1 tablespoon oil of your choice for cooking
  • 6 (8-inch) soft taco-size corn or flour tortillas

Instructions:

tacos al pastor in skillet

  1. Combine the pork with all but the cooking oil in a container. Mix to ensure pork is well coated. You can use a ziplock baggie, or glass container. I used plastic freezer bag because I knew I would be freezing the pork.
  2. Chill for at least 4 hours. Overnight is ideal. You can also freeze the mix at this point.
  3. Heat a skillet on medium-high heat. Add oil and pork mixture (or thawed pork mixture). Stir frequently untill cooked.
  4. Serve on warm tortillas.

I also happened to have some leftover rice and cilantro and turned it into cilantro-lime rice on the side! No recipe for the cilantro lime rice. The rice was already cold, so I chopped up some fresh cilantro, mixed it in with the cold rice, heated it in the microwave and added lime juice to taste. It was guuuuuuuuud.

My husband wanted some refried beans so we heated them up (from a can) and he made his 3 tacos with the beans and rice inside.

tacos al pastor cilantro lime rice refried beans

I opted to have the beans and rice on the side.

IMG_0254

One thing that I might opt to do is slow cook the pork in the marinade. I enjoyed the taste of the season but I felt like pan frying the meat made it a little bit dryer than I would have liked. Otherwise, it was excellent! And I we had enough leftover so Michael could take two tacos to work the next day. A perfect for lunch portion!

Do you have a go to taco recipe? Or another Tacos Al Pastor recipe for me to try? I’d love to hear from you in the comments! Happy Taco Tuesday!


Today I am grateful for…

  1. Multipurpose beauty products – I’m getting ready for a week of travel to 3 different cities all across the country. These products will help make my life easier and will share before I go!
  2. Coffee – When you randomly wake up at 4am and can’t go back to sleep and have to make it to the end of a workday.
  3. My new doctor – it seems I’ve found a winning primary care physician (finally).

More Recipes from the Motherland – Flapjacks (UK Style!)

english flapjacks mixing oats walnuts dried cranberries with butter and honey mixture

Ok, so we’re not talking my motherland this time. So, it turns out flapjacks in England, are a completely different thing than flapjacks here (read: pancakes). After a lengthy conversation between my bestie Joyce, Michael and I, I resolved to give flapjacks a try!

I searched high and low for a recipe that did not use “brown syrup” because I have no idea what that is, and I suspect I would have to pick up things I wouldn’t keep in my house normally to make it. I loosely followed this recipe from fellow blogger Nilla’s Kitchen, which ultimately used honey instead of this mysterious brown syrup. My sense is that you can use any combination of nuts or fillings that you choose, but I settled on dried cranberries and walnuts because mama C packed some away for me when I was visiting. It took only about 10 minutes of prep time and 25 to bake, so I was able to get the labor part done during my lunch break. The measurements on the original recipe were in English-English (grams instead of ounces and tablespoons), so I converted, rounded, and then doubled the portions because ‘merica.

English Style Flapjacks – with Cranberries and Walnuts

Ingredients

  • 13 tbsp of butter (yeah you read that right)
  • 3/4 cup of honey
  • 1 1/4 cups of oats (regular, not quick cook)
  • 1/2 cup of dried cranberries
  • 1/2 cup chopped walnuts

Instructions

1. Preheat oven to 350° F.

2. Grease a 9×12 baking dish or pan, or cover the inside with baking paper. I ended up using my 9×12 Pyrex glass pan.

3. Heat the butter (or coconut oil or ghee if you so please) and honey together in a saucepan and stir well. Bring to a boil and remove heat.

4. Mix oats, cranberries and walnuts (or whatever you want to add in), in a separate bowl.

english flapjacks mixing oats walnuts dried cranberries

5. Stir oat mix into butter and honey mixture until it’s well mixed.

english flapjacks mixing oats walnuts dried cranberries with butter and honey mixture

6. Pour mix into the greased baking dish. Using the back of a spoon, compress the mixture into the bottom of the pan.

pour oat mix into greased pan english flapjacks
7. Bake in the oven for 25 min.

8. Remove pan from oven and the mixture cool completely in the baking dish.

  • At this point, Michael said he was coming home early, so to speed up the process, I stuck it in the fridge 45 minutes after it had been cooling already.

once it's completely cooled, remove from pan and cut into squares

9. Once it’s completely cooled, cut flapjacks into squares, or whatever your heart desires.

Full disclosure: I completely flubbed on the “compress the mixture” step. I poured it out, and smoothed it, but did not really pack it in. The result after cooling was a crispy top, but still separated underneath side. Just to try it, I smoothed it all out again, and really pushed down with a metal spoon. I’m talking no air left in the bottom. And then what I did was turn the oven back to 350 degrees, move a rack to the further down possible (closest to the burner) and popped the tray back in. Once the preheat button went off, I turned the oven off and let it cool off naturally in the oven for 20 mintues before I removed it, using the residual heat to further bake the bottom. This made it a little more solid, and overnight refrigeration helped too, but my first batch was crumbly.

English Flapjacks oats honey cranberries walnuts
One of the very few solid bars I produced.

I feel good that smushing it down well before you bake it will combat this problem in the future. When I try this again I think I will also line the baking pan with wax paper so I can easily lift the flapjack out of the pan to cut on a cutting board.

The result was oh-so tasty! My husband thought it was really good too and took some to work with him. I was a little sad that he said it didn’t taste the same as he remembered, but he reminded me I used honey instead of brown syrup so it’s bound to taste different. But if he liked it, I’m happy!


Today I am grateful for…

  1. Freezer meal recipes. I’ve been so lazy to cook, so I’m getting into prepping and freezing. Stay tuned for recipes!
  2. Zit cream. Seriously loving MK Clear Proof Acne Treatment gel right now. The crazy weather has sent my skin haywire, but this is helping to fight those spots!
  3. Big cozy sweaters and blankets. I know it’s not really cold, but a little coziness goes a long way when the weather is changing!

Cast Iron Cooking Noob – Roast Chicken and Cauliflower [Recipe]

oven split chicken breast cast iron skillet

We received a set of Lodge Cast Iron Skillets as a wedding present, but only just started to use them. The only things I knew about cast iron skillets are 1) they can last for decades, and 2) don’t put them in the dishwasher (sorry college roomie, I didn’t know any better!). I am just getting used to lingo surrounding cast iron cooking, and am working on cooking with my skillet on a regular basis.

A few things of note regarding cast iron cooking:

  • “Seasoning” doesn’t mean the seasonings you keep in your kitchen cupboard. I know what it is, but Wikipedia can explain it better: “Seasoning is the process of treating the surface of a saucepan, wok, crepe griddle or other cooking vessel with a stick-resistant coating formed from polymerized fat and oil on the surface.” Traditionally, cast iron skillets would need to be seasoned prior to use to form this stick-resistant coating. Many cast iron skillets these days, including the pair of Lodge skillets we have come “preseasoned”. However, many sources say that it’s good to season the pan anyway just to give it a little bit of extra help. I followed the instructions from Derek on Cast Iron and oven seasoned my pan a couple of times. I wouldn’t call it non-stick now, but I trust that with use and proper care, that it will last for a long time.
  • You can put the whole thing in the oven! The opportunities for one-pot goodness are endless!
  • Don’t put in the dishwasher or clean with regular soap. The seasoning on a cast iron skillet is made up of polymerized oils. Dish soap is typically used to cut through grease and oil. Therefore, dish soap on a cast iron skillet will wear down the seasoning. The best way to clean is with warm water and a scrub or stiff brush, and dry right away. Never let cast iron soak in water as this will make it more prone to rusting.

Those are just a few tidbits I picked up while figuring out how to cook with my skillets. I suspect this will be a lifelong experiment but I’m really happy with the way this first recipe turned out. I had two pre-seasoned split chicken breasts and cauliflower that I didn’t get to ricing, et voila, this idea was born! I took inspiration from the Dabble Tree blog and threw in some cauliflower to roast as an experiment. The process was a little scary, but the results were delicious!

Cast Iron Roasted Chicken and Cauliflower

Ingredients

  • Oil of your choice – I used organic canola oil, aka rapeseed oil from the UK
  • Two split chicken breasts seasoned to your liking (not cast iron seasoned, but you know what I mean) – I picked up a few pre-seasoned bone-in breasts from Jewel.
  • Half a head of cauliflower – chopped into florets
  • aaaaand that’s it!

Instructions

1. Preheat the oven to 400F.

2. On the stove top, add a little bit of oil (your choice) and let the skillet warm on high.

3. Once the skillet is warm, fry the chicken skin-side down for about 5 minutes until the skin is nicely browned.

frying split chicken breast upside down cast iron skillet cooking
Notice the smoke? Yeah, that was scary, but all part of the “seasoning” process.

4. Remove the chicken from the pan. Toss the cauliflower florets in the residual oil and seasoning until the florets are coated.

5. Divide the cauliflower and place the split chicken breasts in the middle of the pan, skin-side up.

split chicken breast and cauliflower cast iron skillet

6. Place the pan in the oven and cook for 35-40 minutes, or until they reach an internal temperature of 160F.

oven split chicken breast cast iron skillet

7. Remove pan from oven, let chicken rest for 5 minutes. Serve warm with the cauliflower on the side!

finished roasted chicken and cauliflower cast iron skillet
Ohhhhh….ahhhhh…

Cooking the chicken upside down didn’t make sense to me at first, but does now! It produces a nice brown on top of the chicken while the rest of the cooking process leaves the meat underneath nice and tender. And I’m really satisfied with the way the cauliflower roasted alongside with the chicken. One pan, that’s what’s up! I imagine the process can also be replicated with broccoli, and possibly carrots, though I think you might want to blanch the carrots first to soften them up before roasting. Another option, rather than using the oil and seasoning from the chicken is to roast the cauliflower separately on a baking pan, seasoned to your liking. This is a nice and simple roasted cauliflower recipe that could be prepared in the same oven!

I had already prepared some quinoa and corn to have on the side. Hubs liked it, but I had to cut the breast meat out and give that to him. Me? I’m a dark meat kinda gal…

final product cast iron roasted chicken and cauliflower quinoa corn

I’m definitely looking forward to cooking more with this skillet! If you have any tips or suggestions, please comment and let me know what you think!


Today I am grateful for…

  1. Good days. I had a good day today, no negativity in my thoughts.
  2. Clean bathmats!
  3. When my husband can come home early from work and cook the dinner I was planning on making. 🙂


Warning: First Gen Attempting Recipes from the Motherland – Filipino Bistek [Recipe]

marinating beef steak filipino bistek marinade recipe cuisine cooking

One day at tennis practice in high school, my teammate said “I love the way you smell Nicole.” Me: “Um, ok and what’s that like.” Teammate: “You smell like delicious FOOD!”

?!?!?!?!?!!?!?!?!?!?!?!!?!!?!?!?

See, I had the honor of having my grandparents living in our home to help care for us while my parents were working. My siblings and I were born in America, but my parents and grandparents are all imports from the Philippines. This meant delicious, and apparently FRAGRANT, Filipino foods around the clock. I would even have Filipino foods packed for lunch most of the time, though it was a “treat” to be able to buy the pizza puffs, basco sticks and pasta with marinara sauce from the lunch cafeteria from time to time (::rolling my eyes::). And apparently, according to my teammate I smelled like food. Hopefully, this was only on occasion.

I didn’t fully appreciate the food until I left for college and there was no way for me to indulge in champorado, chicken adobo, or kare kare. Every once in a while I will try to make something, but it’s either the simple garlic fried rice and egg, or some sort of meat that is premade like tocino or longanisa (::drools on the keyboard a little::). But lately, I have been DYING for some homemade Filipino foods! I will never be able to make it like my grandparents or my mom, but I thought it was time to try a few things out for myself.

I’m starting out very simply with beef steak recipe. My aim is to recreate these classic recipes, but be health conscious about the way I cook and serve them. I love me some white rice to go with all that delicious Filipino ulam (seriously, I need to stop drooling). But given my activity level and my health goals, it’s not sustainable for me. “Once in a while”, as my grandma used to say. So for this recipe, the adjustment I made was to use quinoa instead of white rice. The ideal would have been for me to get it together and rice some cauliflower, but it was easier to do cook quinoa on my lunch break.

Filipino Beef Steak – Bistek

Ingredients

filipino beef steak bistek ingredients
You can even seek the cauliflower tried to sneak into the picture, but alas, never made it into the recipe. Sorry cauliflower, next time.
  • 1-1.25 lbs of beef (I used some sale New York strip steaks. Can’t pass up a good meat deal!)
  • 1 large white onion
  • 1.5 cups of low-sodium soy sauce
  • 3 garlic cloves minced (or 3 teaspoons of pre-minced garlic, I used pre-minced because I was lazy)
  • Juice from one lemon (or 1.5 teaspoons of lemon juice)
  • Coconut oil for cooking

Instructions

1. Slice the onion into thin strips. Place half in a storage container of your choice. Reserve the other half for cooking for placing on top of the meat.

2.Place your meat on top of the onions. Top with remainder of onions and garlic.

3. Pour soy sauce and lemon juice over meat, making sure to saturate the onions.Marinade Filipino Beef Steak Bistek cuisine cooking
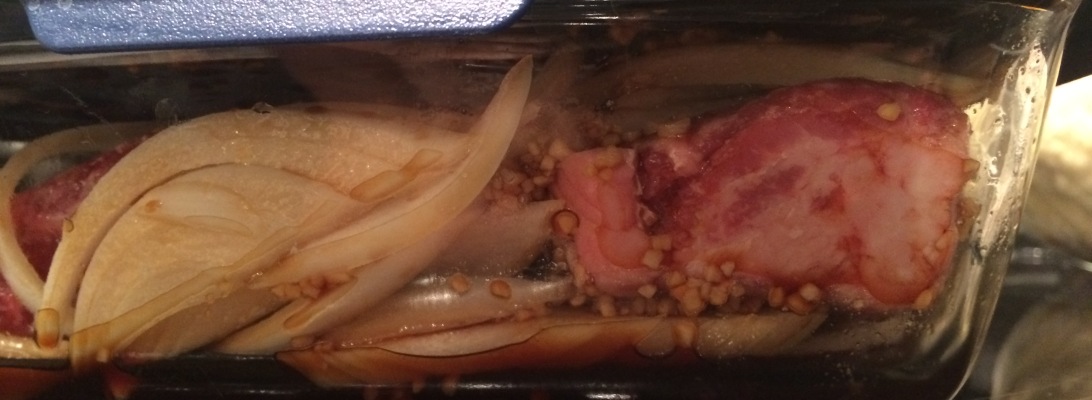
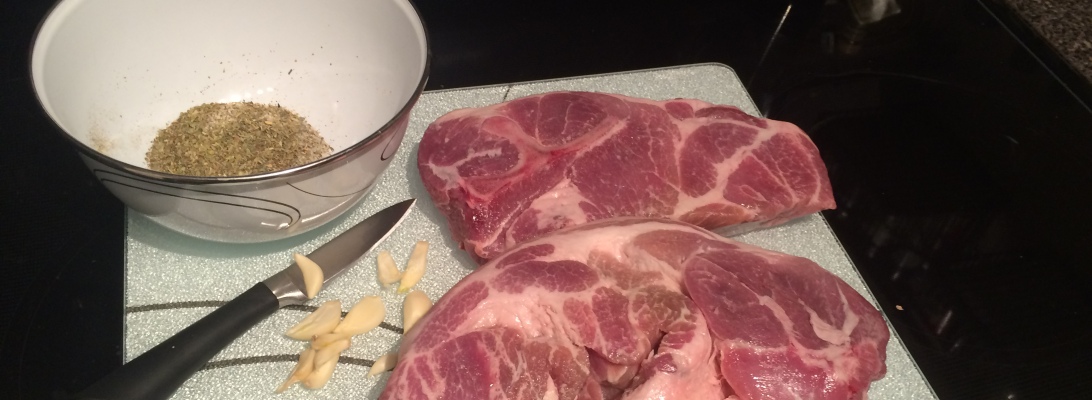
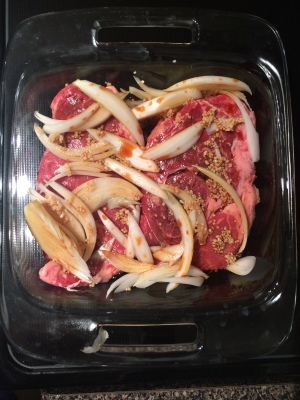
4. Marinade overnight. I think 1-2 hours will do, but my mom always prepped it a day before, so I shall do the same.

marinating beef steak filipino bistek marinade recipe cuisine cooking
Hello beautiful.

5. If you remember to, flip the meat halfway through the marinade time. Some recipes have you prepare and marinade in a ziploc bag, and this will make it easier to flip to coat. I opted to use my Pyrex container because I am trying to reduce the amount of plastic I use and consume. If you are using a non-baggie container, flip the meat at some point to coat both sides. DO NOT FLIP YOUR CONTAINER OVER. I should have realized this was a bad idea before I tried it, but I flipped my container and watched the soy sauce fill the lid and slide out of the corners. It was so stupid. Just open it up and flip your meats please.

6. Add coconut oil (or your oil of choice) to a pan and heat it to medium high. This time, I used a cast iron skillet.

7. Brown the beef only, flipping midway though. Remove from pan and set aside.filipino bistek beef steak cast iron skillet

8. Add onions and garlic to pan and cook until onions are soft.

9. Add the marinade and beef back to the pan and simmer for 15-20 minutes, turning beef occasionally.filipino beef steak bistek cast iron skillet cuisine cooking

BONUS step: Take your rice, quinoa or cauliflower rice, and heat it up in the same pan that you cooked the beef in. The rice will absorb any remaining juices or flavors. Even though cauliflower rice won’t absorb anything, pan frying it will give a little extra flavor to the cauliflower without the processed carbs!

filipino bistek beef steak corn quinoa kale onions medium rare
I added kale and corn because I felt guilty about the brown-ness of it all!

Serve with your choice of veggies. At home, my mom would probably cut up some tomatoes, put them in a little bowl with their own juice and add patis, which is a super salty Asian fish sauce, that I LOVE but that is probably responsible for why my teammate said I smelled like food. This time around, I improvised with what I had at home, which wasn’t much. I threw already cooked quinoa into the pan which absorbed the leftover flavor, added some chopped kale and corn.

A lot about this meal was non-traditional Filipino: I used a thicker cut of meat, didn’t serve it with white rice, corn and kale is a bit unusual, and…

IMG_9787SURPRISE! I didn’t actually cook it myself. I prepped it the day before but my husband took care of the rest. Like I said, not traditional Filipino, but we were both full and happy with dinner by the end of it. I think the real test will be if my mom or grandpa like it! Ok, well I will probably just try it on my sister sometime. There’s no chance my mom or grandpa will find this as good as theirs. I wouldn’t either. 🙂


Things I am grateful for today…

  1. That I live close enough to a grocery store to walk to it (and have sidewalks all the way!)
  2. My mom and grandparents home-cooked meals. I truly to miss them. I still raid my mom’s fridge when I go home to see if there are any good eats hidden!
  3. I am moved by the amount of positive comments and messages regarding yesterday’s post. I had no idea that it would have the impact that it did on everyone. While it saddens me to know many folks are suffering from the effects of depression in silence, I know that there are supportive and understanding people all around who will be able help others through their difficult journey. If someone you know may be struggling with depression, I encourage you to be an empathetic and understanding shoulder (or nest builder), and if they are open to it, help that person find the courage to seek help.
depression nest builder cartoon
Michael is my nest-builder.

Should you cook meat past the date on the label? and Slow-Cooked Pork Shoulder [Recipe]

Slow Cooked Italian Roasted Pork Shoulder with tomatoes and mixed vegetables

It’s been a while since I’ve posted because I’ve had a few things happenin’ including big changes at work, visitors from the UK and a little side of food poisoning, but I’m BACK! I have so many great ideas for topics, I just need to get back into the swing of things. I have been trying my hand at a few more recipes and thought I would share another, but first, a little PSA on buying meats –that is in no way related to my food poisoning (thanks Buffalo Wild Wings), but can hopefully prevent you from getting into that bind yourself.

You’ve heard me say this before: I love a good deal. I recently moved a place less than one mile away from a Jewel so I’m there like 2-3 times a week. One thing I like to do is stock up on meats. At some point in college, someone taught me that you can freeze meat. Stores often times put their meat on sale because the sell by date is rapidly approaching. This is when I like to snap some meat up! I always knew meat is ok for a few days after you buy it, and then it’s ok for a few weeks frozen. But it looks like there are some official guidelines involved! This time I decided to consult the official guidelines when I picked up these badboys: over 4 pounds of bone-in pork shoulder.Jewel Pork Shoulder Shopping deal

They came out to be $4.17 for both, which was a steal. So I had to buy it, never mind that I didn’t know what I was going to make just yet. It’s funny, I was talking to my trainer this morning and it seems that my cooking style is “what can I make from the stuff that I have?”. Rather than have a plan to follow initially. Might not be the smartest or most efficient, but I’m working on it! But I digress…

There is definitely a difference between a “use-by” date, and a “sell-by” date. If the product has a “use-by” date, then consume or discard by that day. Simple enough. If a product has a “sell-by” date, then the USDA recommends you use the below chart as a guide for storing and freezing the products:

Product Storage Times After Purchase
Poultry 1 or 2 days
Beef, Veal, Pork and Lamb 3 to 5 days
Ground Meat and Ground Poultry 1 or 2 days
“Fresh Variety Meats
(Liver, Tongue, Brain, Kidneys, Heart, Chitterlings)” 1 or 2 days
Cured Ham, Cook-Before-Eating 5 to 7 days
Sausage from Pork, Beef or Turkey, Uncooked 1 or 2 days
Eggs 3 to 5 weeks

I was already formulating a plan for what to make before I got to the register because I assumed that I would need to cook it that day. Or the next. Turns out according to the USDA, I had a couple of days! No matter, I had a recipe in mind that would make use of my handy Ninja…

Ninja cooking system
Ahhhhhhhh [choir singing]
I actually earned this Ninja as a prize from Mary Kay. In addition to our best-in-the-country commission percentage, the company rewards hard work with gifts. I had a choice from lots of things including jewelry, furniture, a TV and business supplies, but I wanted to go with something hilariously practical. This guy is a behemoth, but amazing. It functions as a slow cooker, a stovetop, and an oven. ANYWAY, I needed a good way to “set it and forget it” with my bargain meats, so I settled on this classic Slow-Cooker Italian Pork Roast from The Clothes Make the Girl. I made a few adjustments based on what I was working with and the amount of time I had. Check out the original for an excellent Paleo recipe; below is my version with the slight adjustments –and they worked out well!

Nicole’s Ingredients (modified from the original recipe):

  • 4 lbs of bone-in pork shoulderbriny sea salt friends forever BrinySeaDryGoods
  • 5 garlic gloves cut into slivers
  • 1 tablespoon of Friends Forever – Pure Ocean Salt & Honey
  • 1 tablespoon of Italian Herbs — any kind will do, I used a salt-free Meijer Brand, but I also have a Pampered Chef bottle on my shelf that would suffice

Instructions

  1. Use a small, sharp knife to make slits all over the meats and slide the garlic slivers in.
  2. In a small bowl, mix the salt and herbs and rub on all sides of the shoulder (the pork’s, not yours).
  3. Place the shoulder in the slow cooker, and cook for a cumulative 14 hours on low.
Slow Cooked Italian Roasted Pork Shoulder with tomatoes and mixed vegetables
I had two separate pork shoulders, but you can also just have one big one.

This is where I got a little bit creative. By the time I decided to make this for dinner, I didn’t have time for it to cook for 14 hours. I have always ascribed by the rule that one hour of “high” slow cook time equals two hours of “low” slow cook time. So I had a bit of a math problem on my hand. I had everything ready at 9am, and wanted dinner to be ready by 6, so I had 9 hours to play around with. I had to scribble this out a few times before I got it right:

5 hours on high = 10 hours on low + 4 hours on low = 14 hours on low in 9 hours of cook time

Does that make sense? I cooked the shoulders on high for 5 hours, then turned it to low for the last 4.

After 9 hours of my apartment smelling like deliciousness, the pork shoulder was ready!

pork shoulder slow roasted italian

Now that I’m looking at it again, it does not look terribly appetizing in the picture, but I SWEAR it’s good! You can see that the meat cooked down and the garlic slivers are sticking out now. The meat was fall-off-the-bone tender as promised in the original recipe. To keep with the spirit of the paleo-ness of the original recipe, I paired it with simple steamed mixed vegetables and a fresh tomato salad.

Slow Cooked Italian Roasted Pork Shoulder with tomatoes and mixed vegetables
I need to work on my food photography skills.

Twas another hit with the hubby and made for a nice light dinner. I am trying to eat more earlier in the day and finish off with light fare for the evening. We will see how that goes…

This recipe is so simple and easy, and yields loads of tender pork that can be easily served as leftovers. My husband took a slab with him for work, paired with some rice and veggies and I kept some at home for my lunch. The four pounds was enough for 2 meals for us each and one lunch for me two days after I made it. So when you think about it, allowing for $1 per meal for rice and veggies (an overestimation methinks), it cost about $9 for 5 meals! I don’t think that’s too shabby! Which is why I love to look for deals on meats. I’m sure I will write up another “cheap eat” of mine sometime in the future!


Today I am thankful for…

  1. Pepto. Yes, I’m still working through it.
  2. Fridays at my job: I’m lucky enough to have some flexibility so my Fridays are pretty sweet.
  3. A really sweet Mary Kay customer. I met with her today to drop off some product that I always keep on hand especially for her. She is very thoughtful and loves supporting my business. It was a joy to talk to her, even if it was only for a few minutes.

Skinny Crustless Chicken Quiche [Recipe]

Skinny crustless quiche healthy recipe

I am no cook. I honestly don’t know how I’ve fed myself since I left for college. I am average at best, and not terribly creative, but I do find a certain calm when I get into cooking and like to try new recipes. Perhaps one day I will share my own, but for now, I’d just like to document my cooking adventures by sharing my trials of recipes I’ve found online.

When I search for recipes, I try to look for “healthy” ones. I’ve discovered that healthy means a lot of things to a lot of people: gluten free, low calorie, low fat, low carb, paleo, primal, and loads more. I do not ascribe to a particular eating lifestyle, but I do like to try to be somewhat good. Another thing I look for in recipes is whether I already have the ingredients or whether they can readily available to an amateur like me. For example, this time around, I was looking for a recipe that I could use my leftover roasted chicken in, and that incorporated quinoa, which I am trying to figure out how to cook with more.

After some searching, I found this recipe on Skinny Mom, a complete resource for healthy living. And although I am neither skinny, nor a mom, this Skinny Crustless Chicken Quiche proved to be exactly what I was looking for.

skinny mom quiche quinoa chicken recipe
via Skinny Mom

It is rare that I follow recipes to a T. Possibly because a lot of time, I forget to pick up a requisite ingredient at the store. So I attempted to try this recipe, but with a few adaptations of my own. Here’s how it worked for me:

Nicole’s Ingredients (modified from the original recipe):

  • 1 cup dry uncooked quinoa
  • 2 cups water
  • 6 oz cooked chicken breast, shredded
  • 4 whole eggs, beaten
  • 2 egg whites
  • 4 oz reduced-fat cream cheese
  • â…“ cup skim milk
  • 1 cup chopped red pepper
  • 2 cups fresh spinach, chopped
  • ½ tsp salt
  • ÂĽ tsp pepper
  • ½ tsp garlic powder

Instructions

1. Cook quinoa. Set aside to cool.

2. Preheat oven to 375ÂşF.

3. In a large bowl, combine the rest of the ingredients.

healthy chicken quiche

4. Once quinoa is cooled, add to other ingredients and stir well to combine.

5. Spray a 9-inch pie plate with nonstick cooking spray.

6. Pour mixture into pie plate. Bake 25 minutes.

healthy crustless chicken quiche

7. Place under broiler for 3-5 minutes to brown top.

Et voila!

Skinny crustless quiche healthy recipe
I think it turned out a-ok!

I made it for my sister and my picky-eater husband a few weekends ago and they loved it! I didn’t have the scallions or chopped parsley from the original recipe, because I totally for got to get them. I added the chopped spinach instead to add a little bit of green, but I think next time, I might chop it a little bit finer and add the scallions. I like to keep a bag of fresh spinach in the apartment at all times because it’s an easy way to pack some superfood into your recipe or shake. When you take into account the spinach and fresh pepper, plus the protein from the chicken, eggs and quinoa, you’ve got yourself a really hearty and flavorful meal! It’s not just for breakfast either, we actually had it for dinner. 🙂


Three things I am grateful for today:

  1. Spending time with family members we don’t see often, even though tragedy brought us together.
  2. Cooler weather in the mornings to make for some nice morning walks and runs.
  3. Facetime, for allowing my husband to have a Fantasy Football Draft with his mates in England.